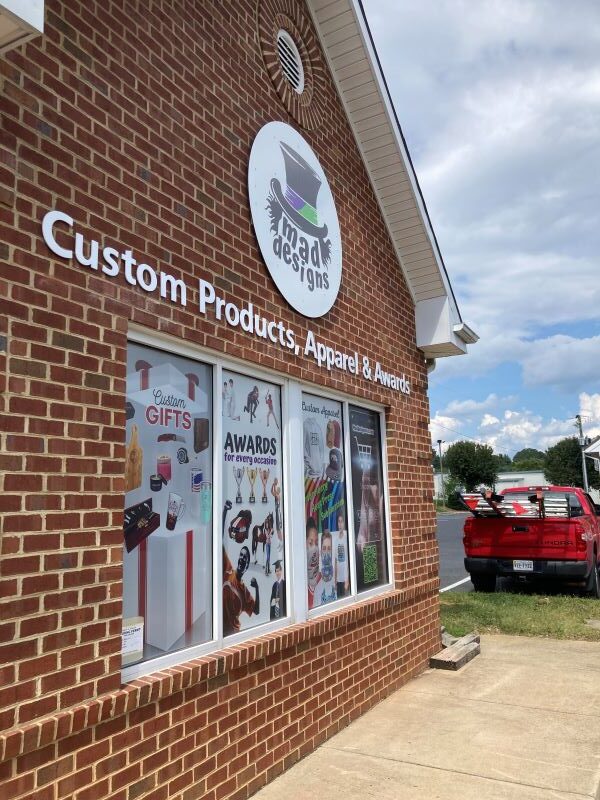
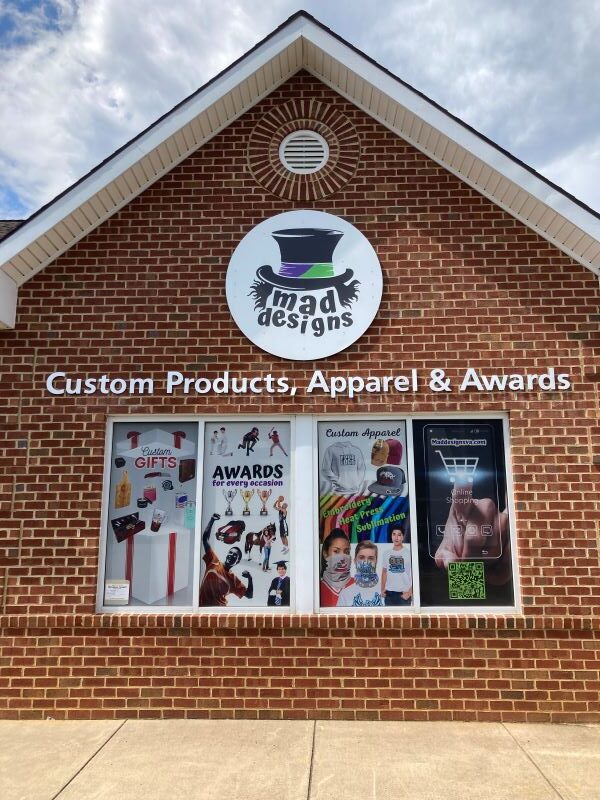
Intermixing flat panels with dimensional lettering is a great way to add interest to your business entrance signage. Back in the summer I was tasked to design a wall graphic for a local trophy shop in Stuarts Draft, Virginia that was changing their name after purchasing an existing shop that had been a part of the community for years. The new owners had used me for a sign on another business venture at the opposite end of the strip mall and, since that sign was still looking great after eight years out in the elements, they wanted to utilize my services once more!
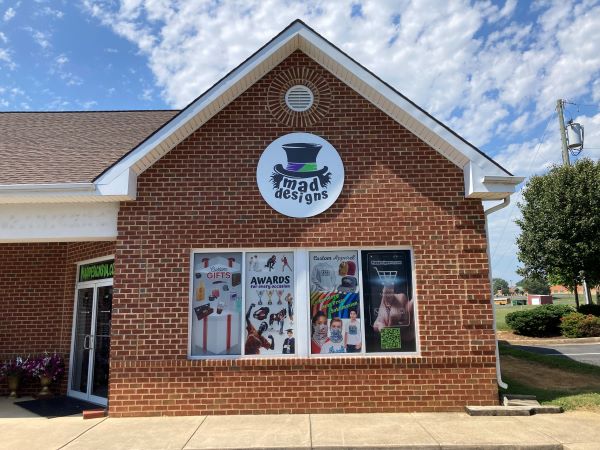
Once again they had a barren brick wall as a canvas, and they asked me to produce several layout options that I might recommend to make the wall come to life. The previous time I had worked with them, I recommended one large flat Aluminum Composite Material (ACM) panel with their business name and logo that was lifted from the brick wall with wood strips to give it a little depth by casting a nice shadow out in the sunlight. This time I added an option that used the same type of raised panel for their circular logo, but in addition, I recommended dimensional lettering for their business name below.
I suggested three layout options all under $5,000.00 to meet their advertising budget for the project. Happy to say they chose the most expensive option and we both felt it was the best way to go!
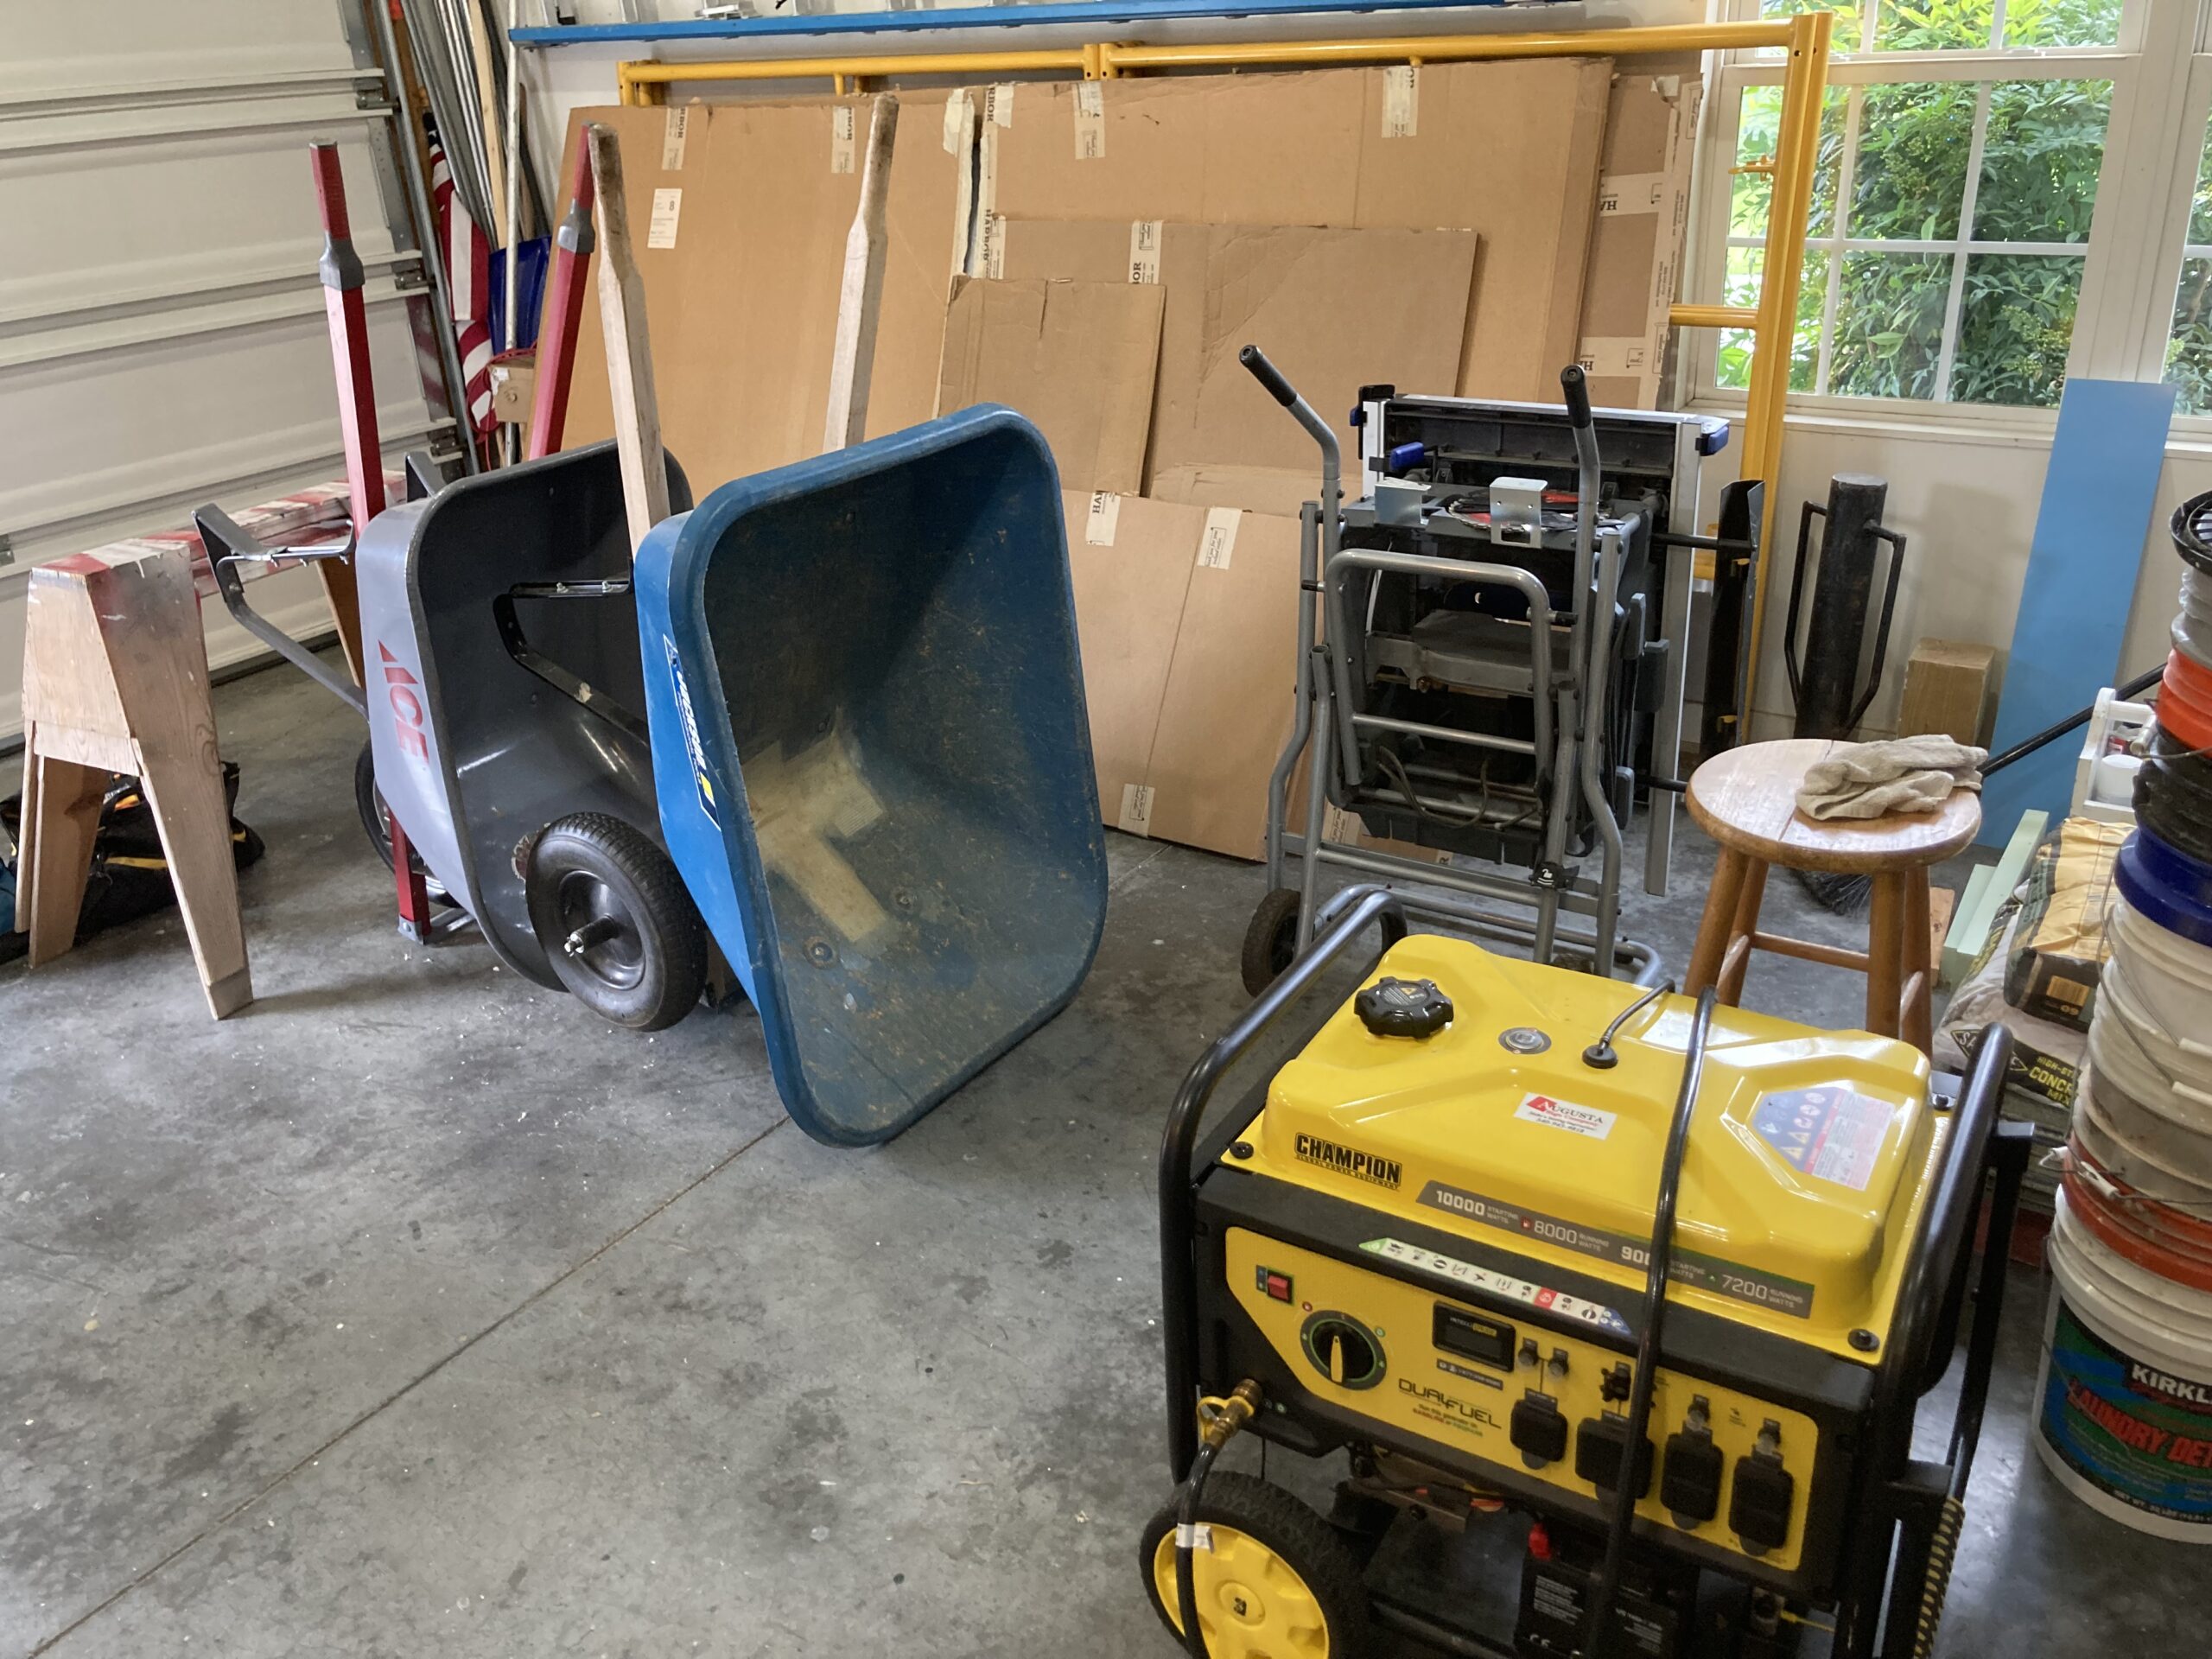
Once we finalized the design and they submitted their deposit, I ordered the materials and after about six weeks I was able to schedule the installation. The customer had obtained the necessary sign permit and it was time to go to work!
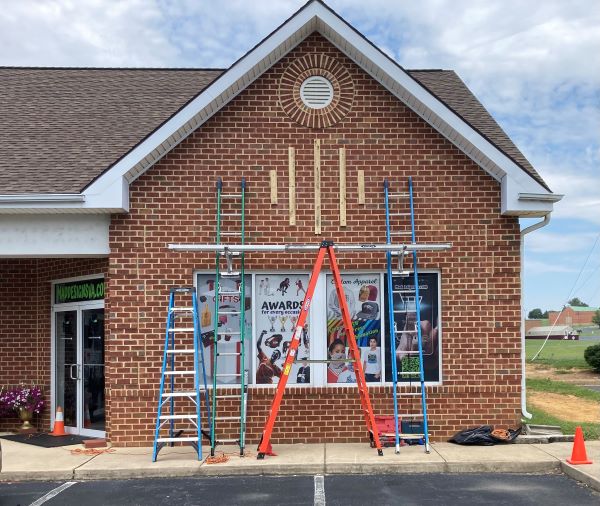
I set up a work platform using ladder jacks and commenced installing the 1×4 wall studs for the ACM logo panel. It was super hot: high nineties and extremely high humidity! It was so hot that my wife suggested I delay the balance of the installation until the following day when temps were forecasted to be slightly cooler. Remembering a time some thirty years ago when I passed out from dehydration while working on a billboard job in the summer heat, I fastened the ACM logo to the studs and took her advice to wait on drilling out the holes for the individually mounted letters below.
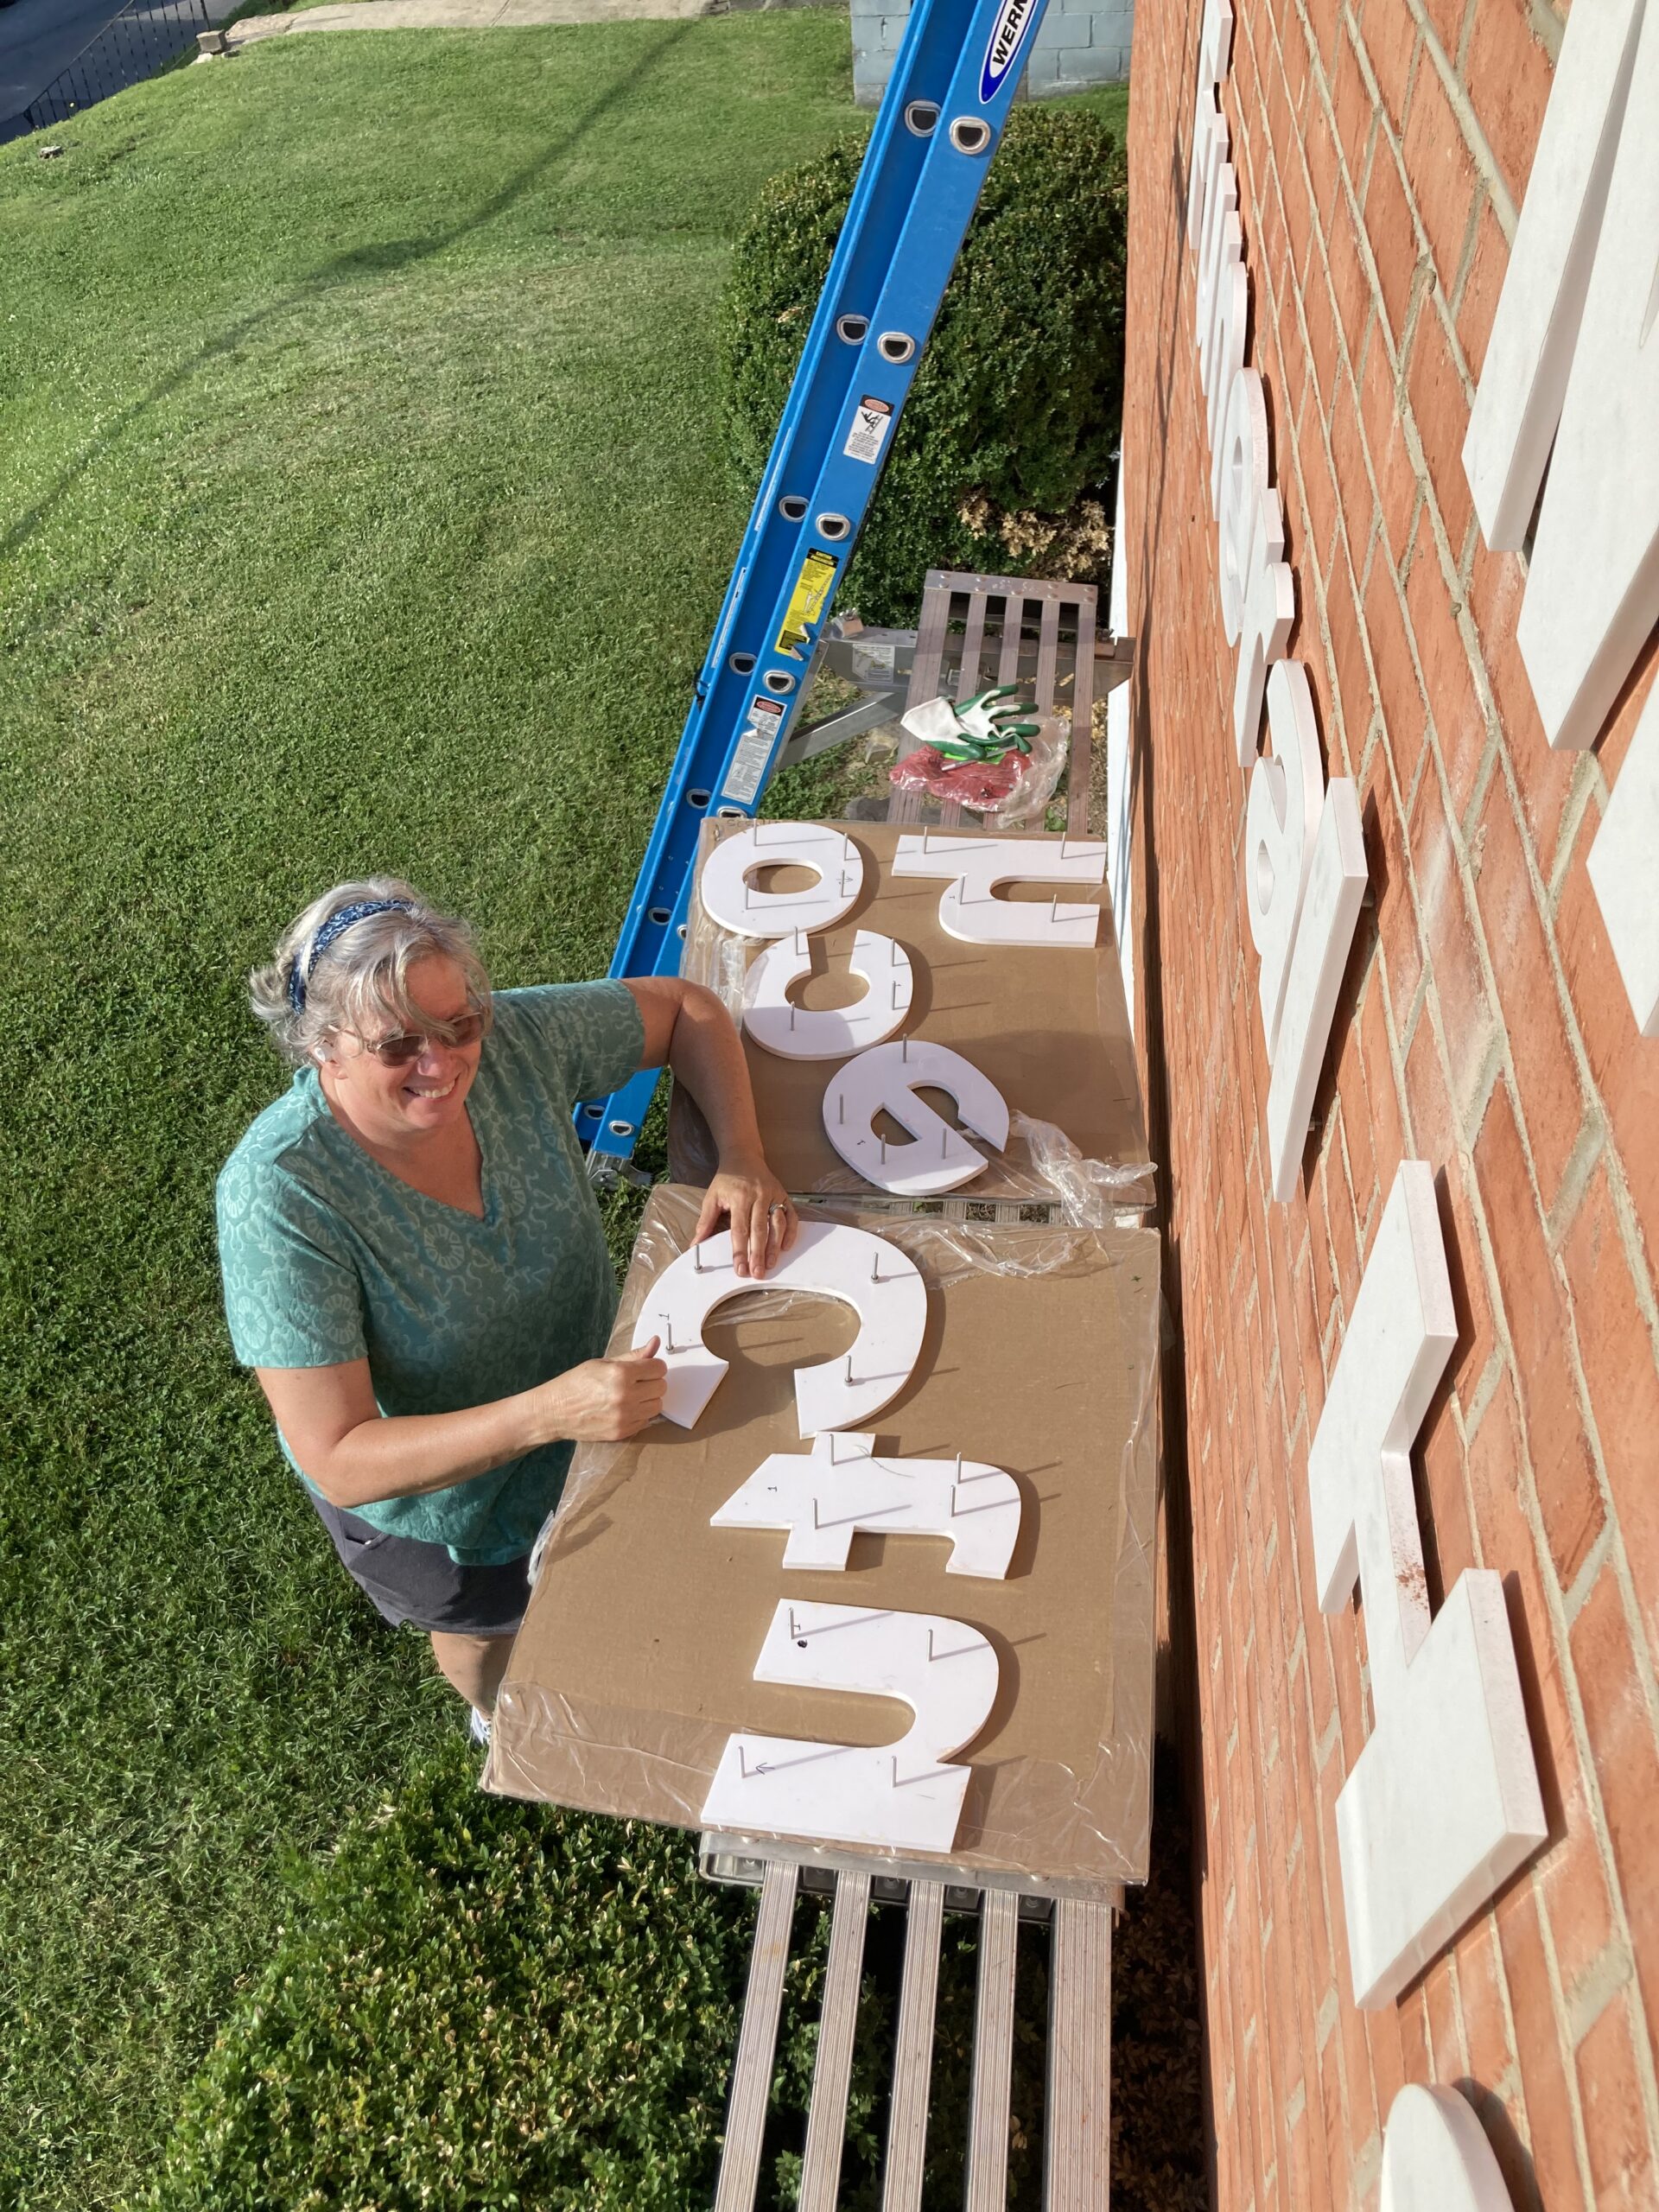
The next time I returned it was somewhat more comfortable for an old man to work. I taped my hole pattern to the wall and drilled over a hundred holes in the solid brick with my hammer drill to mount the letters using rust proof metal studs. I opted to use spacers between the letters and the brick to help cast a similar shadow to the logo above. I installed the letters with silicone, taking care to make sure each letter was straight and flush across the faces.
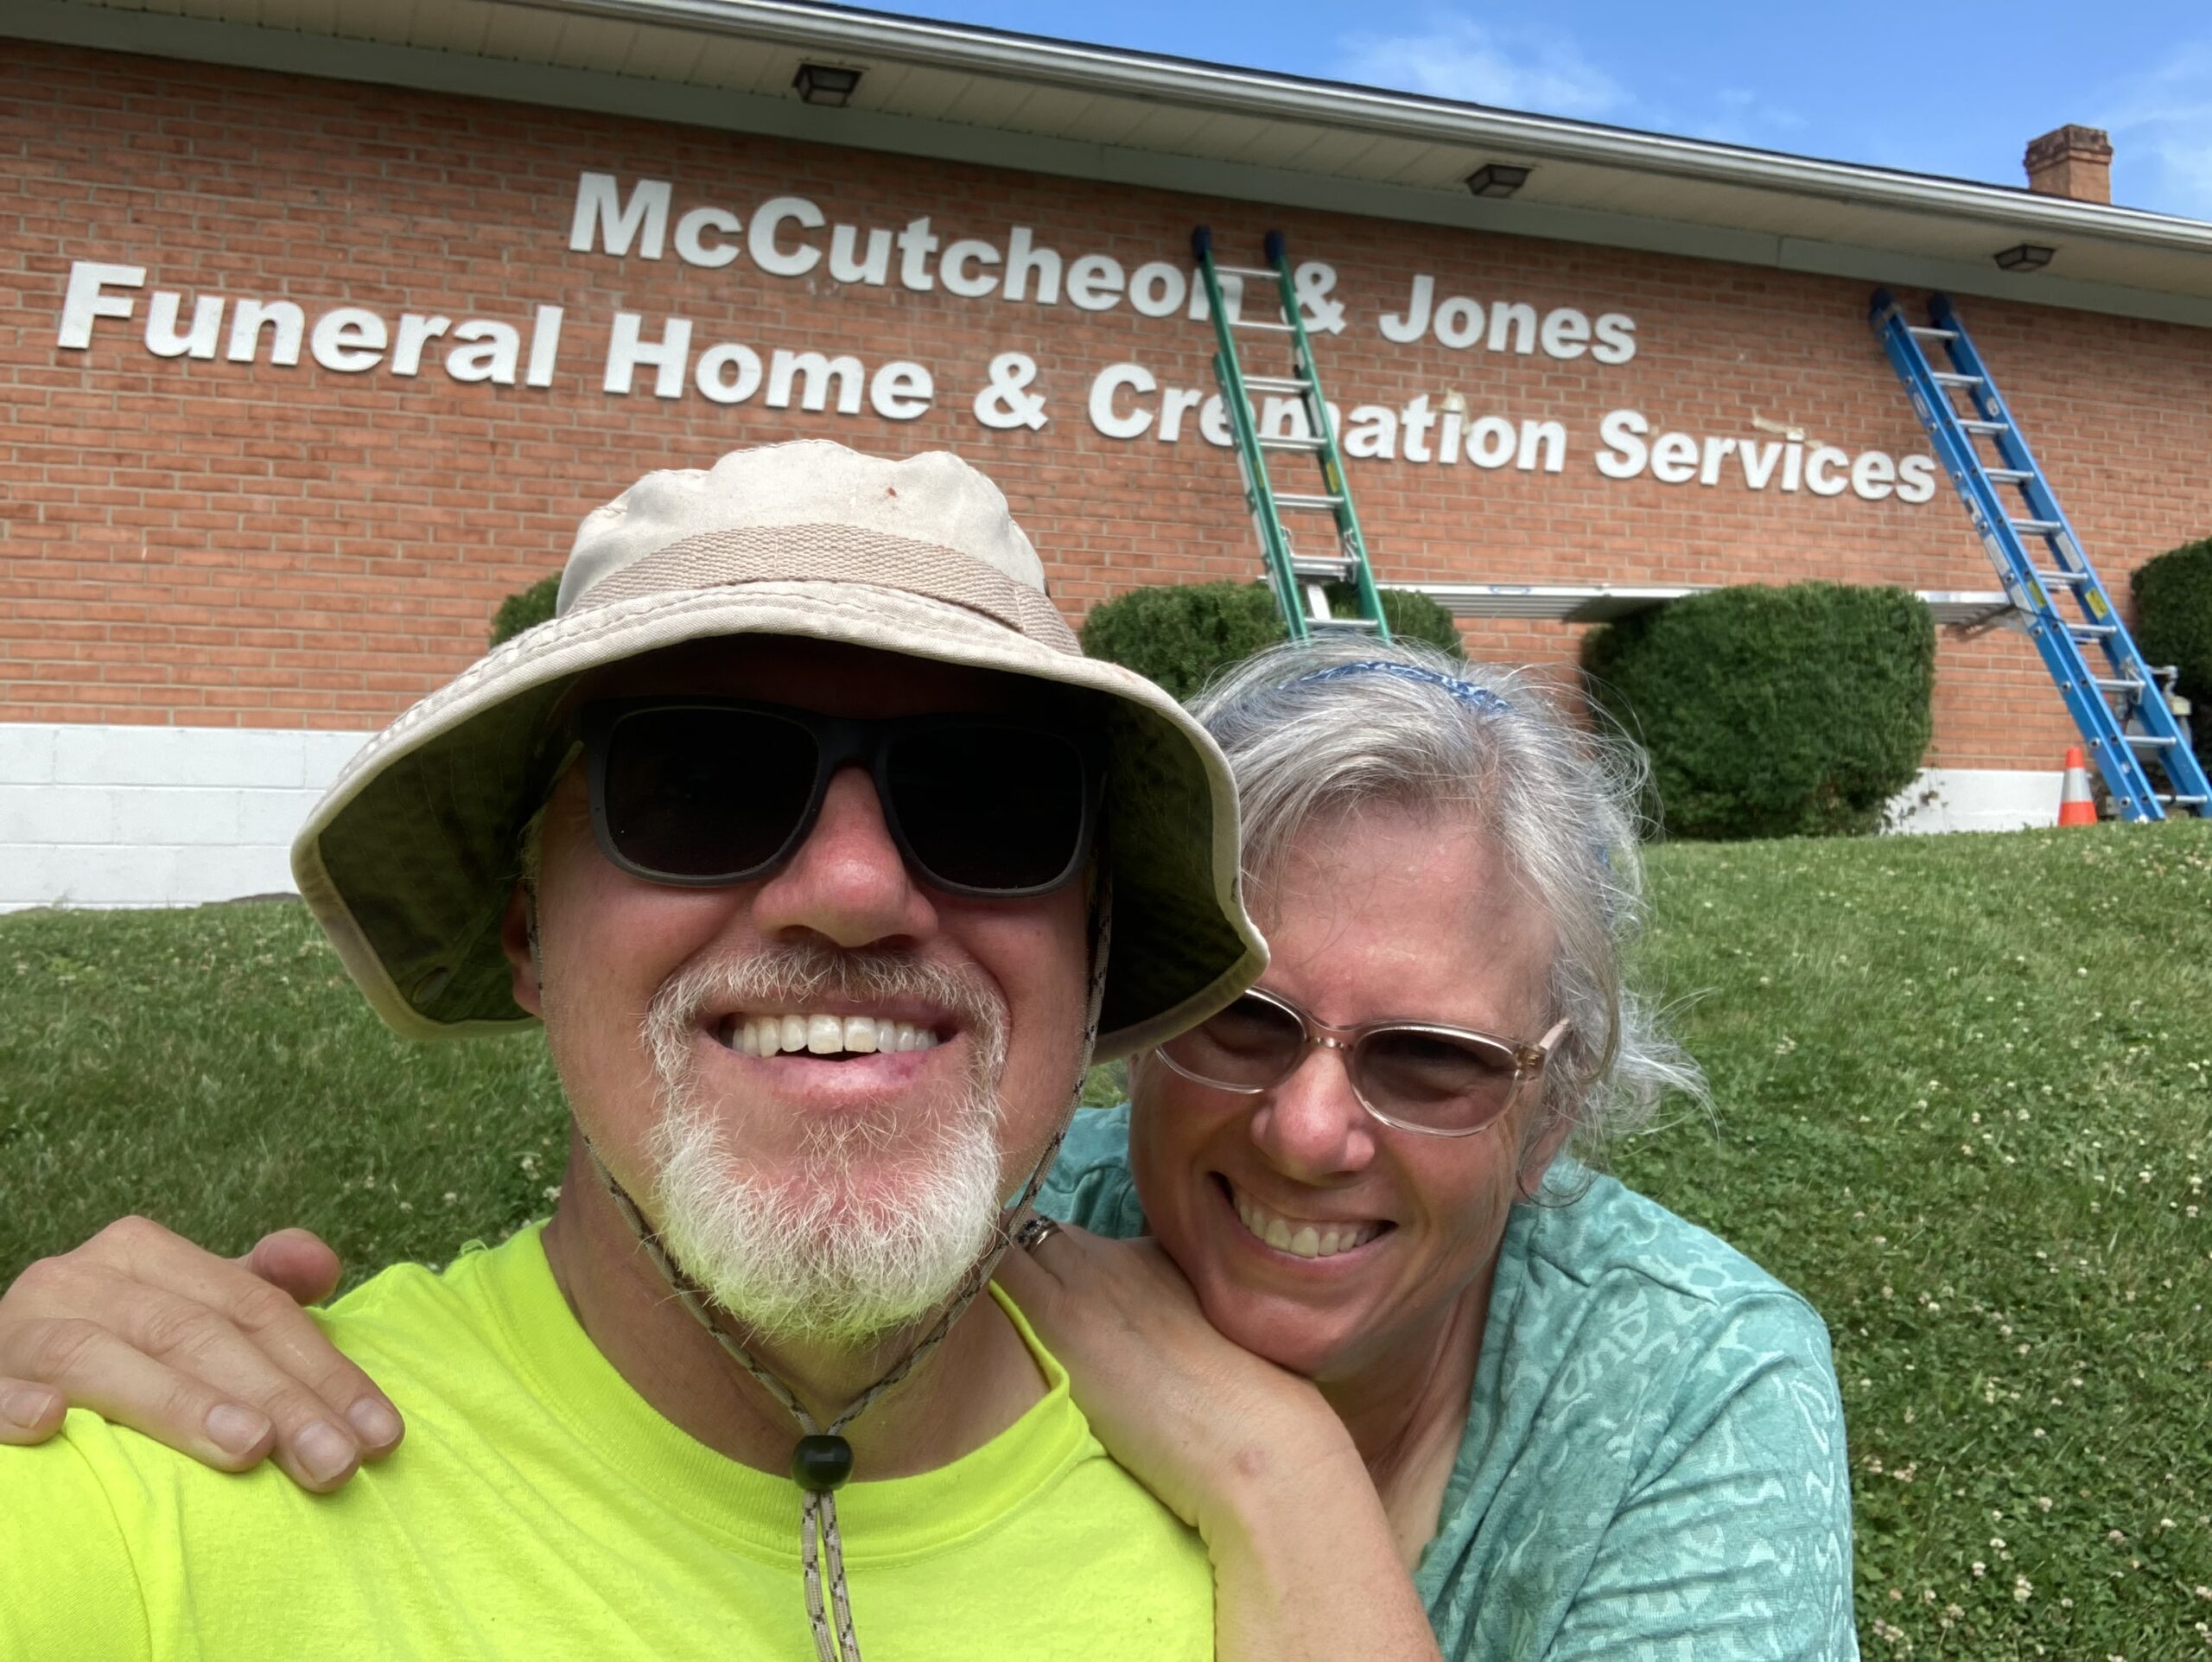
I dismantled my work platform and called it a day! The customer was happy with the end product and very happy I was done making all that obnoxious noise with my hammer drill!!
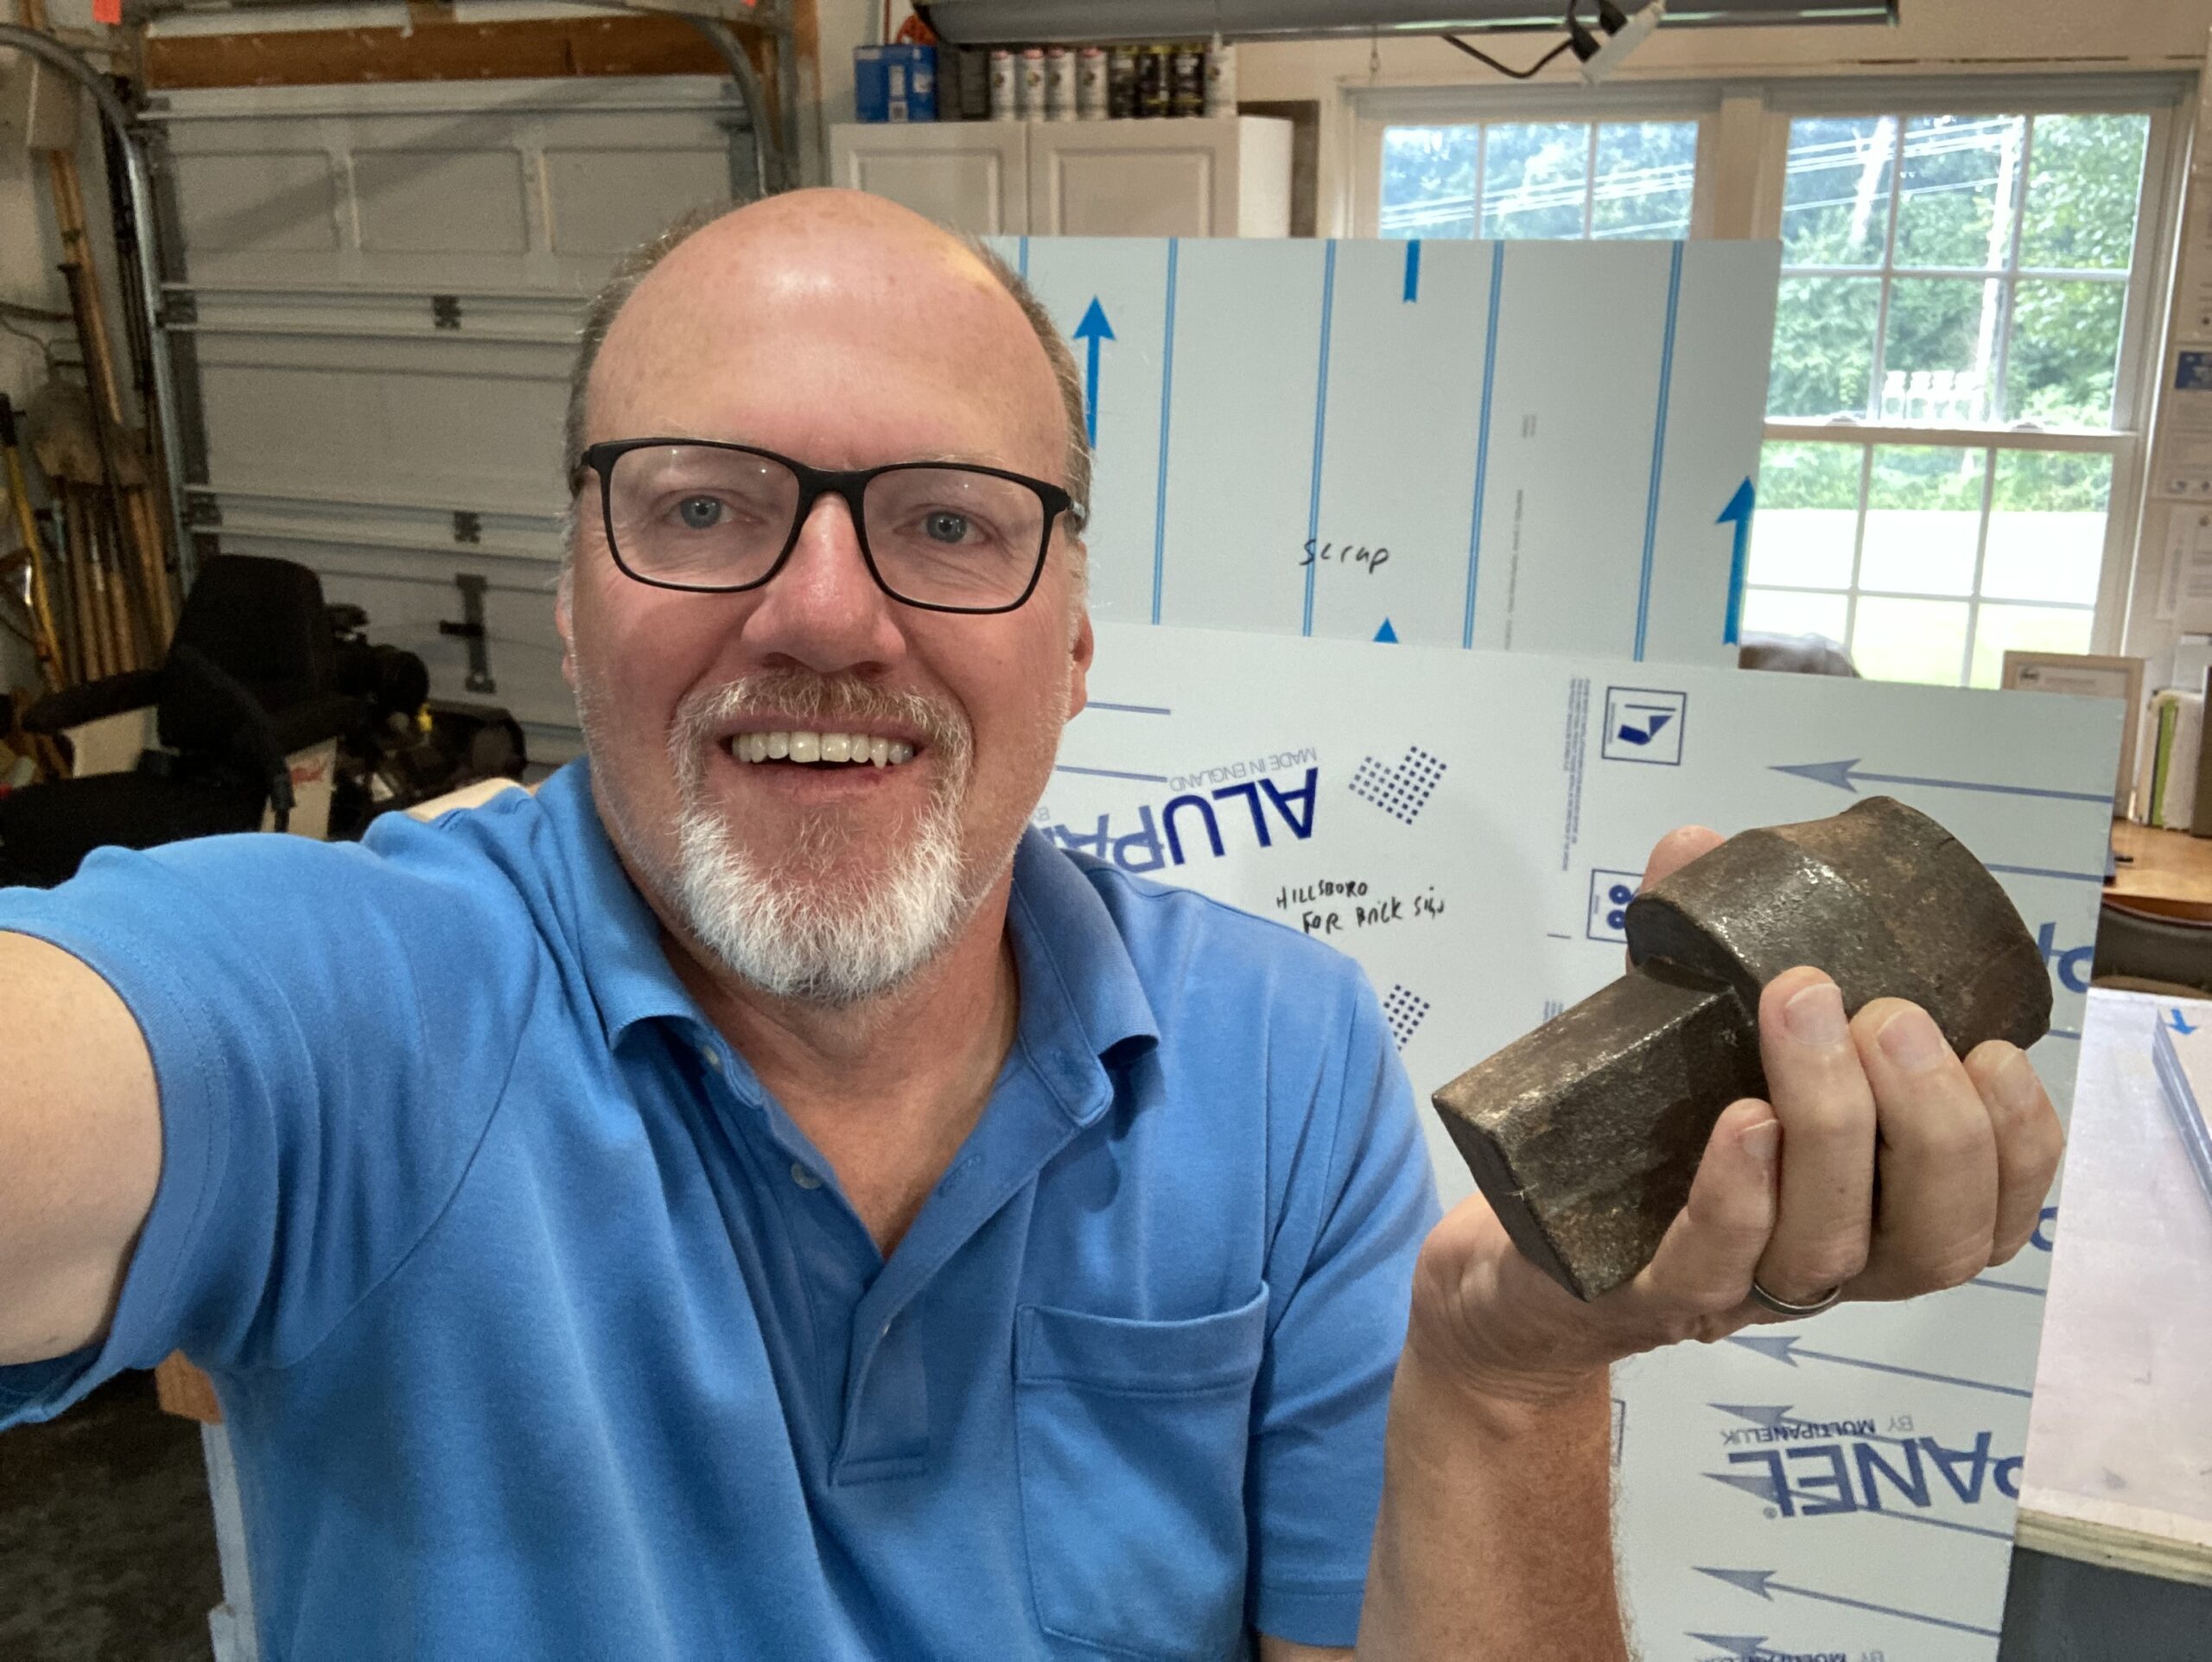
Mark Hackley owns and operates Augusta Sign Company, and has operated as a Class B Virginia contractor since 1991. If you’re interested in a wall sign for your business, you can reach him at 540-943-9818.