MUSIC AND SIGNS…ONE ARTIST, TWO MEDIUMS
As a part-time musician who gigs around with a few bands, I had played some music at the Pro Re Nata Brewery in Crozet before. It was a huge venue and sometimes we’d play outside on a stage area they made near the Rt. 250 side of the property, and sometimes we’d play on a nice stage they built inside. I guess it depended on the time of year and the weather. It was several years ago and I remember my wife and her dad and another friend came out to listen and eat some dinner. I recollect doing a pretty good job on the famous Urban Cowboy soundtrack song that was made popular in the 1980’s by Johnny Lee called “Lookin’ for Love”. I even got back up support from aspiring Nashville country artist from the Charlottesville area, Tommy Wood!
THEN AND NOW
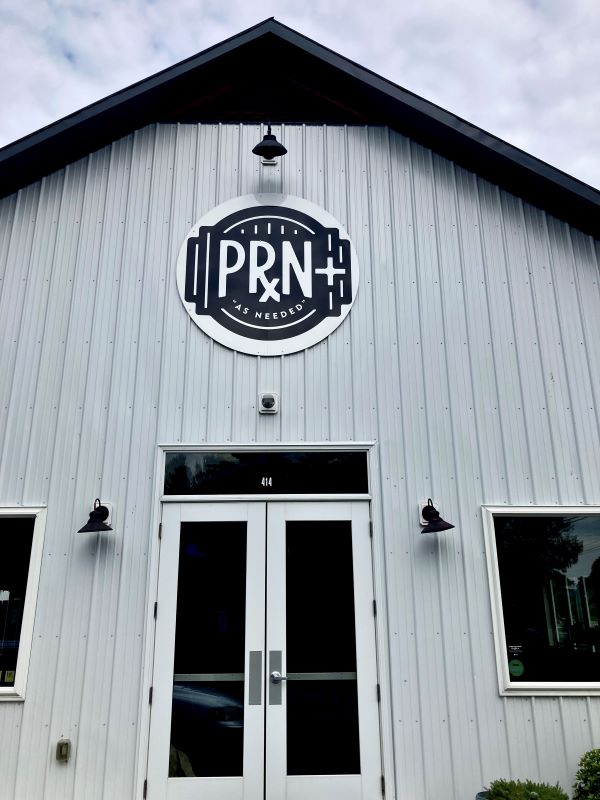
Fast forward several years to the present and I would be doing a sign project for this same restaurant now expanding to the Staunton area. Referred by the previous owner of the property who I had made signs for originally, I received a call from the new owner who had just bought him out; and he needed a name change before the grand re-opening a few months out.
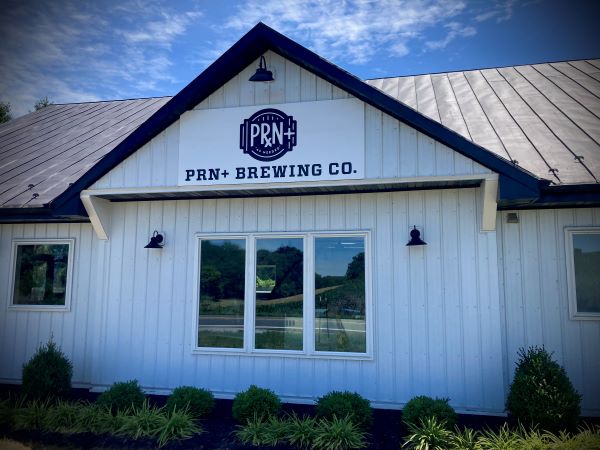
EASY TO SWITCH BRANDS / REPURPOSING OLD ONES
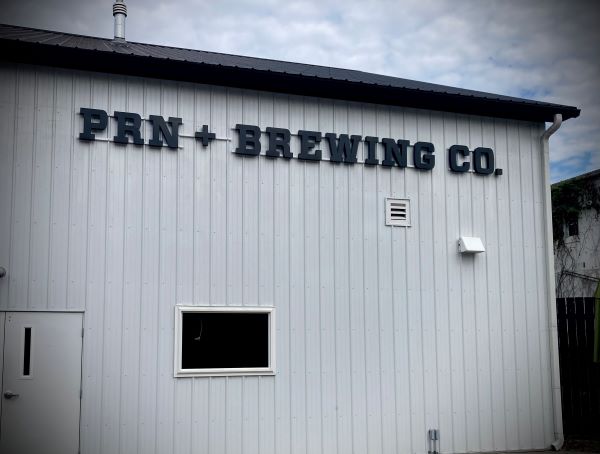
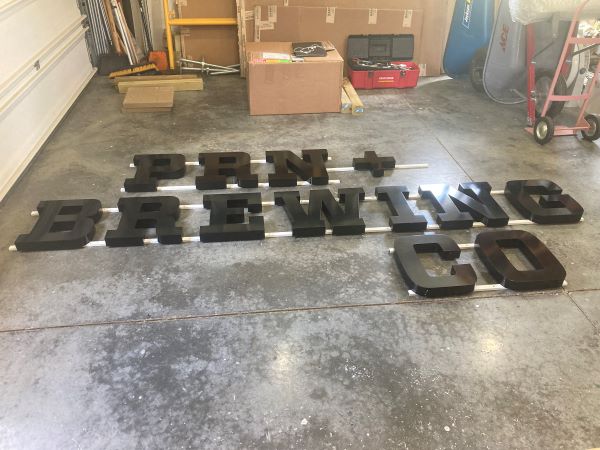
The cool thing about this project was I could use the original Aluminum Composite Material (ACM) wall panels and just change out the 3M Vinyl Graphics. I could also use most of the existing fabricated aluminum wall letters to spell the new name. I just had to order a few new letters and a plus sign. All this meant a big savings on initial signage costs for the new owner and a simplified installation for me. Since all the holes and hardware for the wall signs were existing, I only had to go over to the site and remove the signs, take to the shop to reface, then take them back and hang them back up in the same holes! Easy Peasy!
BIRD POOP AND BIRDS NESTS HINDERED THE PROJECT
The wall letters would be a little trickier. I would have to remove all the letters, transport them to my shop, clean them, then make a few new letters and reorganize the letters to make the new name. I think cleaning off the bird poop from those fabricated letters was the hardest part of the project! Also, as I was removing the letters from the wall I discovered a nest of baby birds in one of the letters. It was a little sad. Since it was a super hot day, I had a feeling those poor babies wouldn’t survive transplanting them to a bush nearby. I can only hope that the parents of those baby birds were able to find them in time. Deep down, I really don’t want to know what happened as I can only imagine they didn’t survive for long out there in their new unprotected environment. I think I’ll leave wildlife management concerns to the pros and stick with corporate branding projects!!
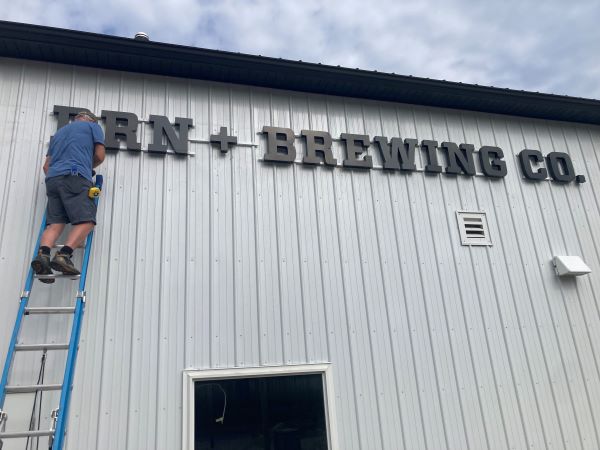
TWO-MAN INSTALLATION
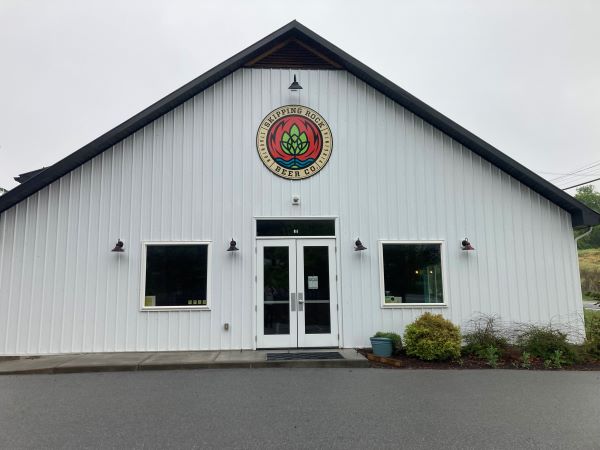
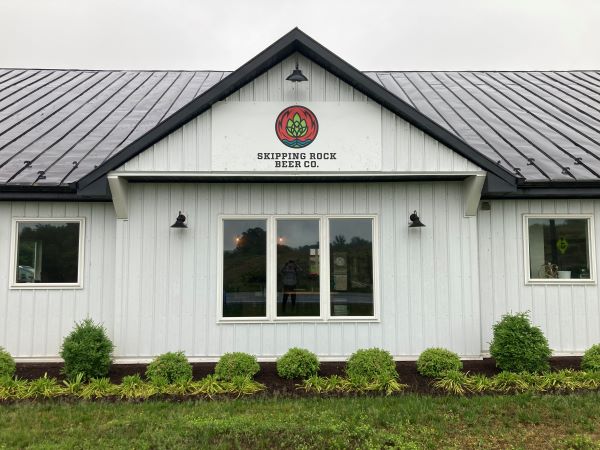
My friend Doug helped me with the installation as the two wall sign panels were bulky and quite heavy to lift up to where they needed to go. The wall letters were easy to install solo. That is the way I had originally installed the wall letters for Skipping Rock. However, since Doug was there, we handled it as a duo. A week or two after the final installation was complete one of the wall letters was blown off its mounting channel during a nasty thunderstorm that rolled through our region. Trees were uprooted, and power lines were down everywhere. I guess it was fortunate that only one letter was damaged. The letters have chemically welded brackets that attach the letter to the mounting channel, and the mounting channels are fastened to the corrugated metal wall with stainless steel screws. The extreme winds from the storm were strong enough to shear a letter from its bottom brackets, leaving it somewhat dangling on the wall.

GOAL ACHIEVED
There was still over a month until the grand opening, so there was plenty of time to have a new letter made up with new brackets. Once the new letter was ready, I went back and finished the job, again. As they say, a signmaker’s job is never finished! It’s nice to have a cool music venue just around the block now! If you’d like to visit a brand new brewery near Staunton, VA, come out and visit PRN+.
Mark Hackley owns and operates Augusta Sign Company serving Staunton, Waynesboro, and Augusta County, and practically just about anywhere across the Commonwealth of Virginia!