TRAIL BOSS
I would say Augusta Sign Company has become an accomplished trail sign designer and manufacturer over the years. It has been six years since I completed the new signage for the Blue Ridge Tunnel rail trail in Afton, Virginia, and since that time I have logged several other interesting trail sign projects in my production diary.
HAPPY TRAILS
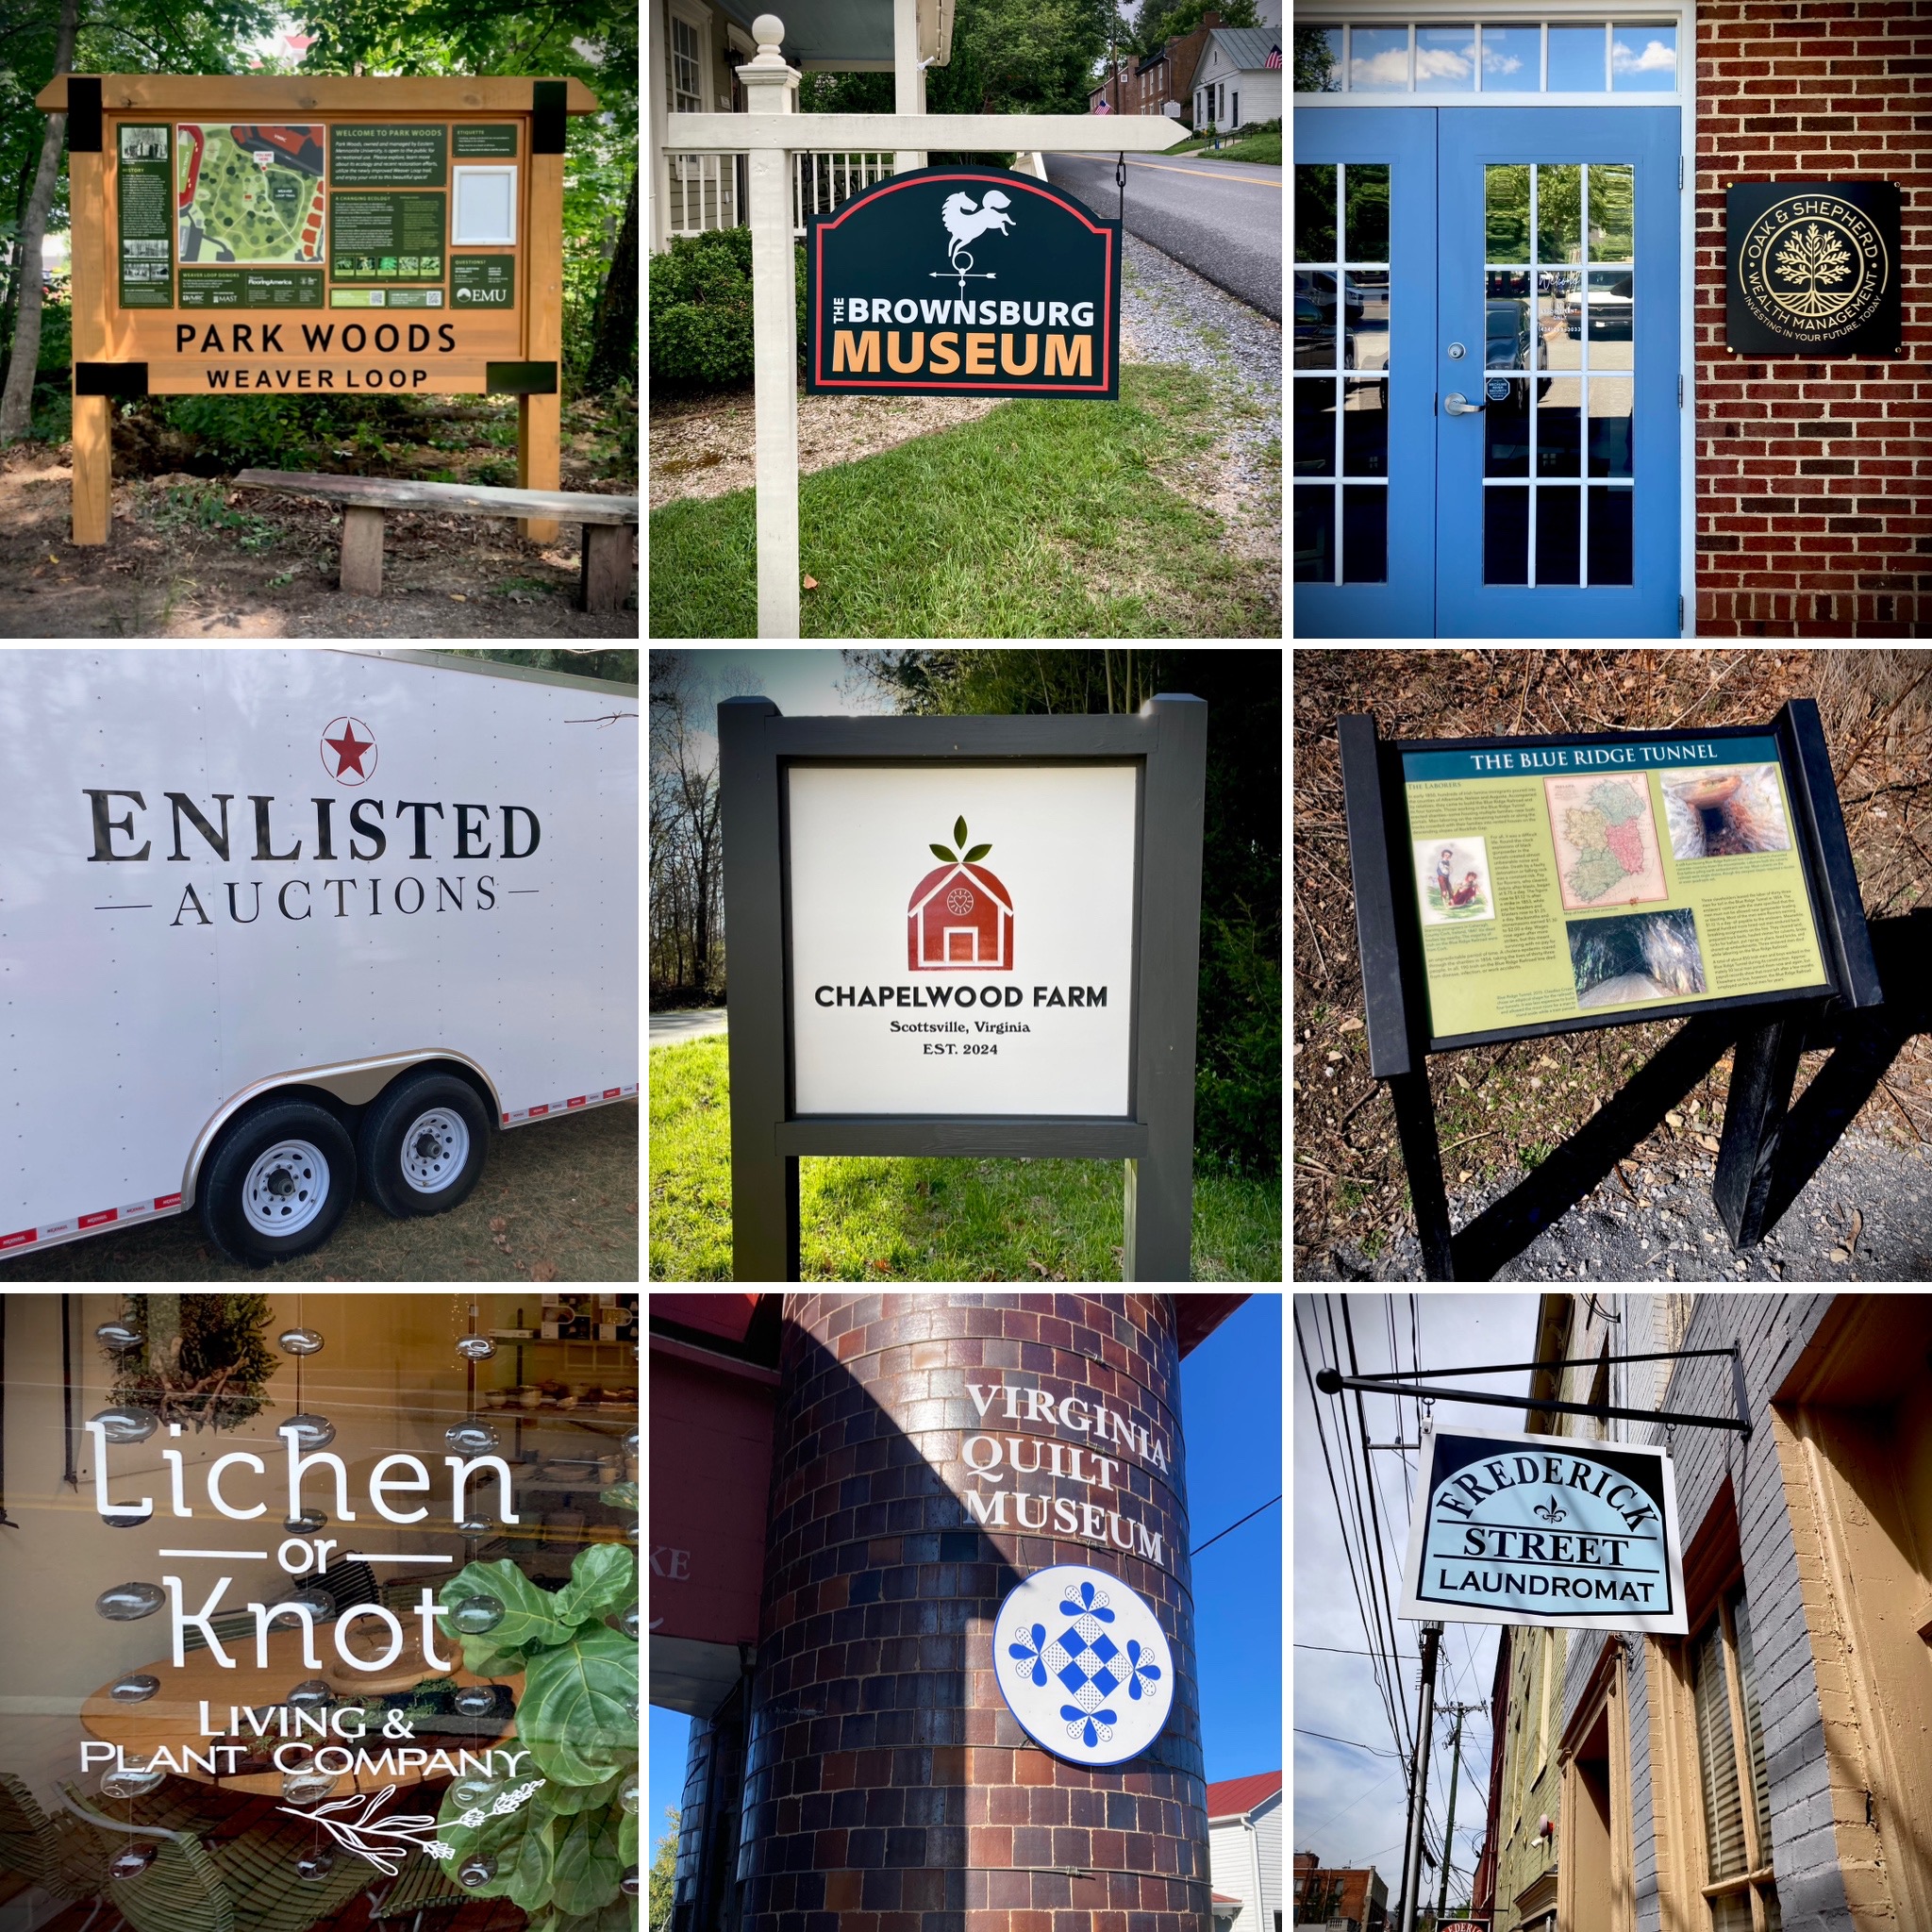
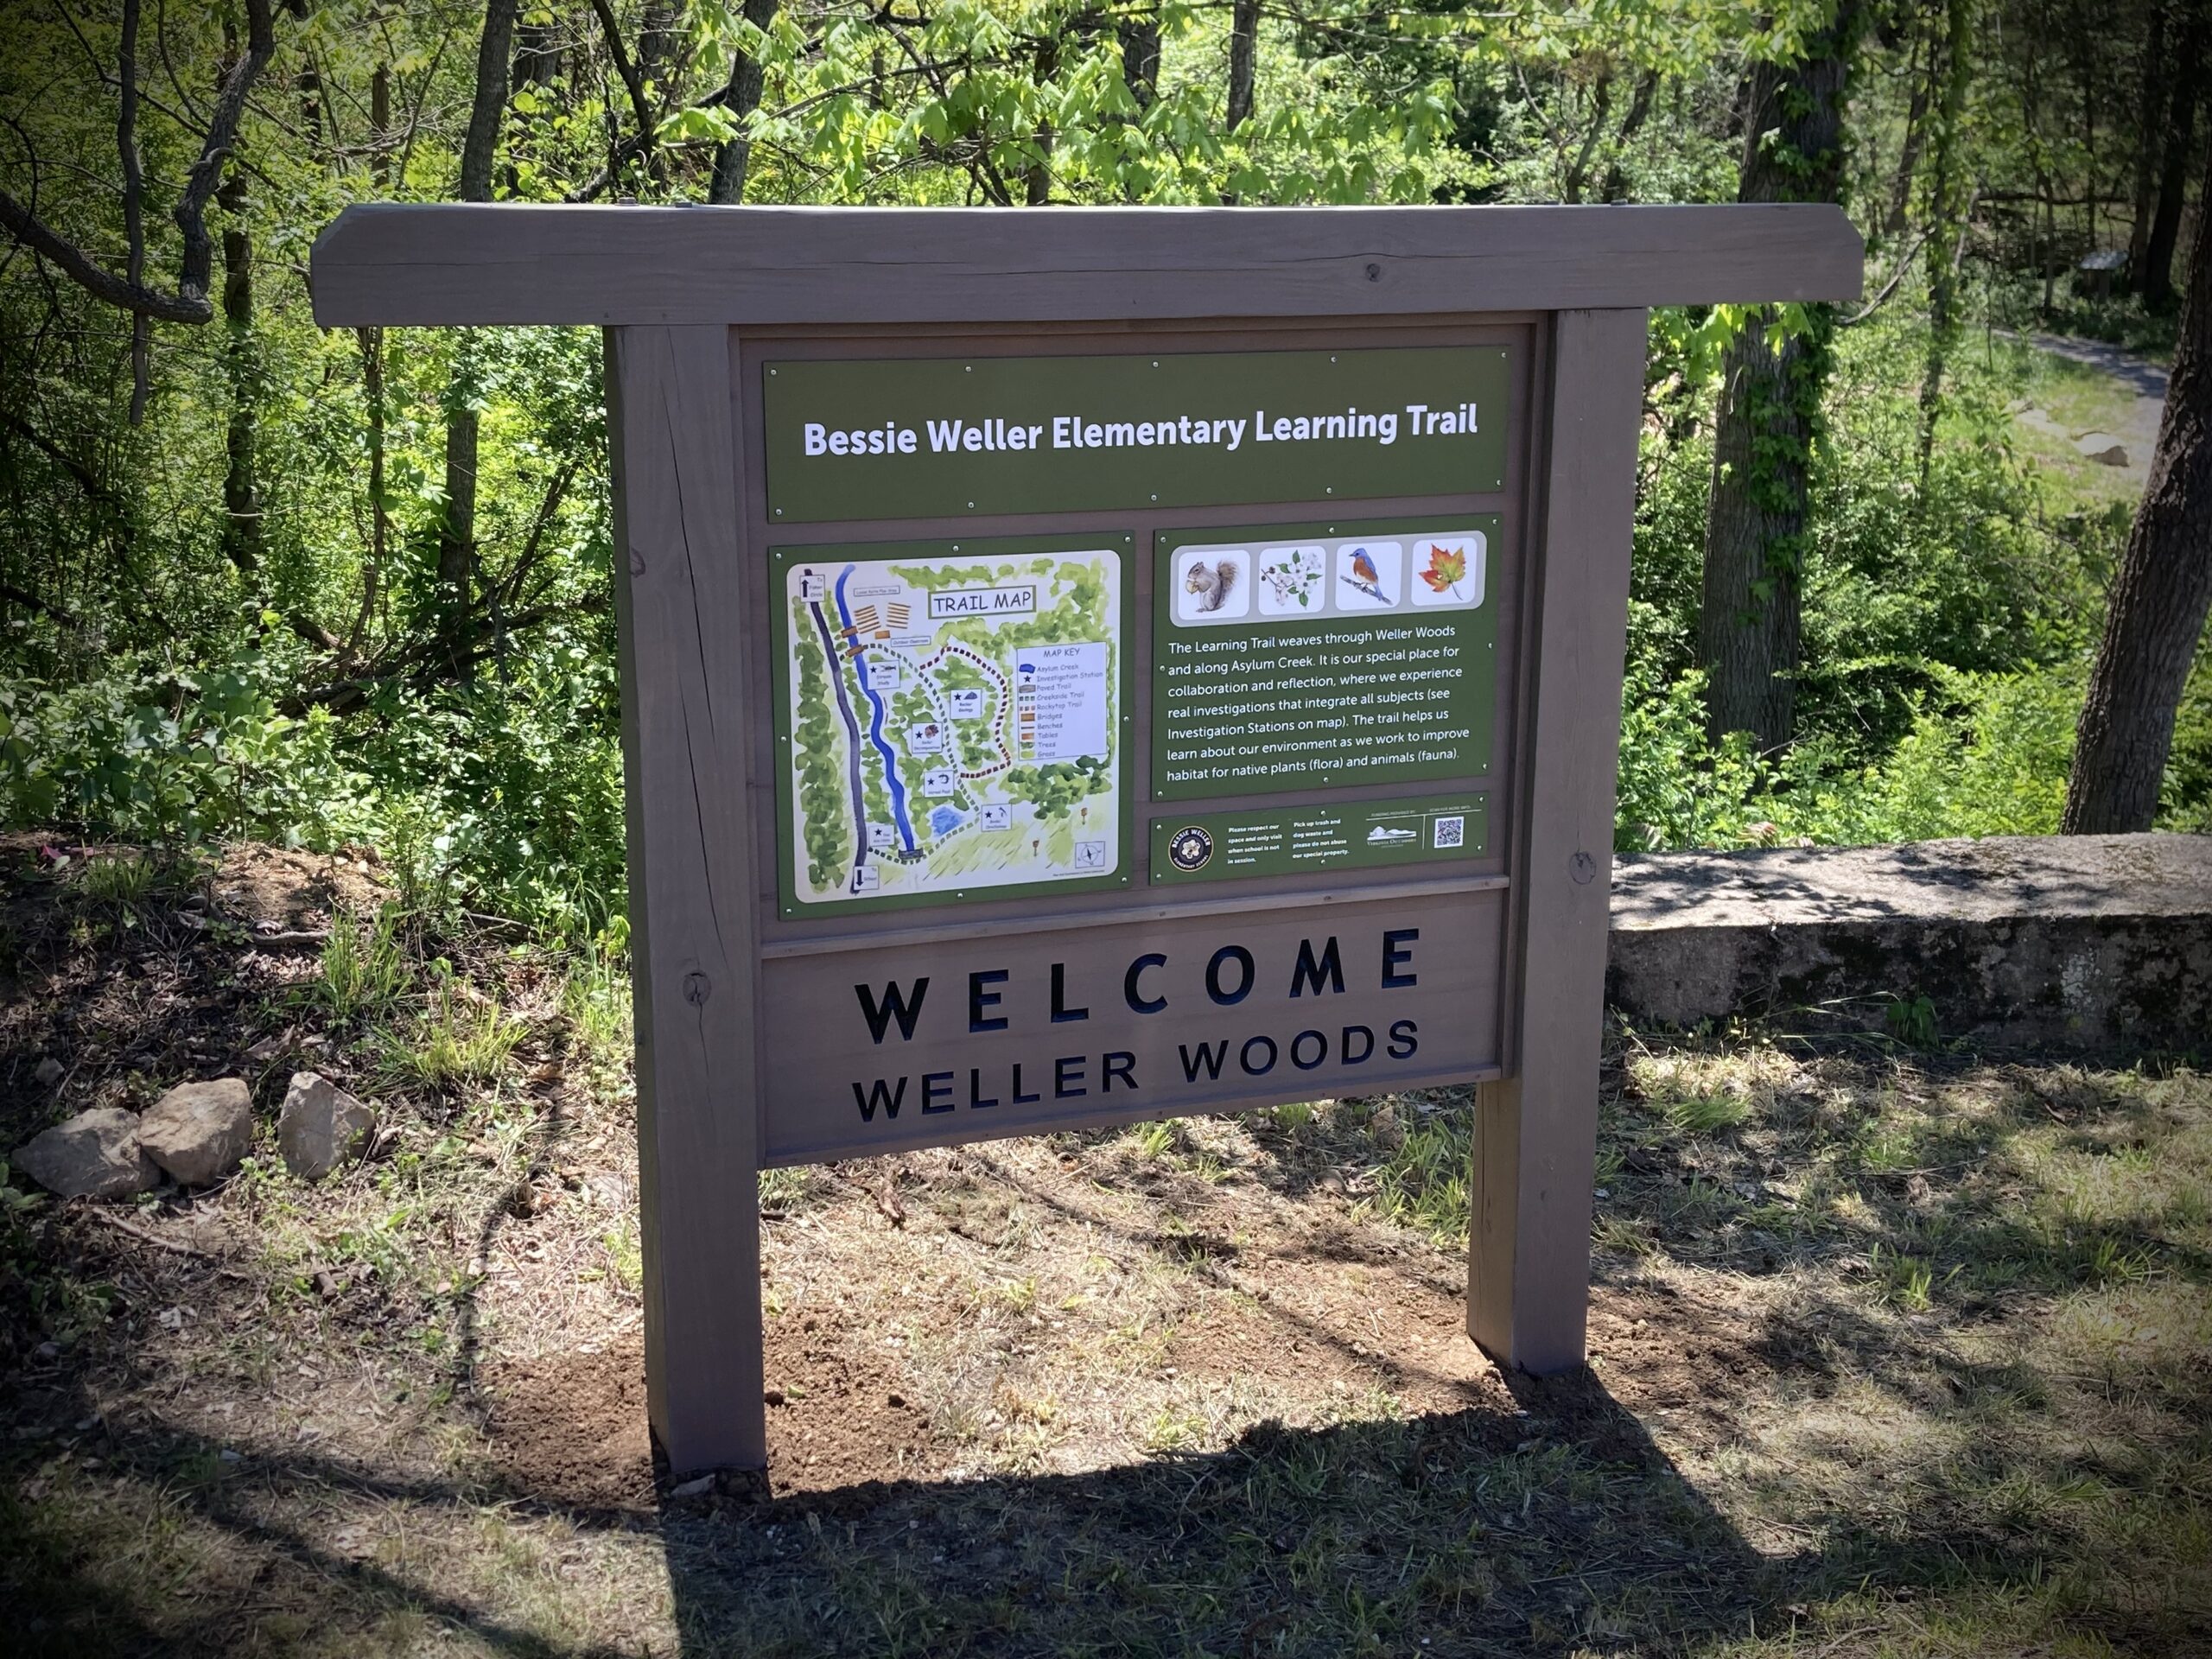
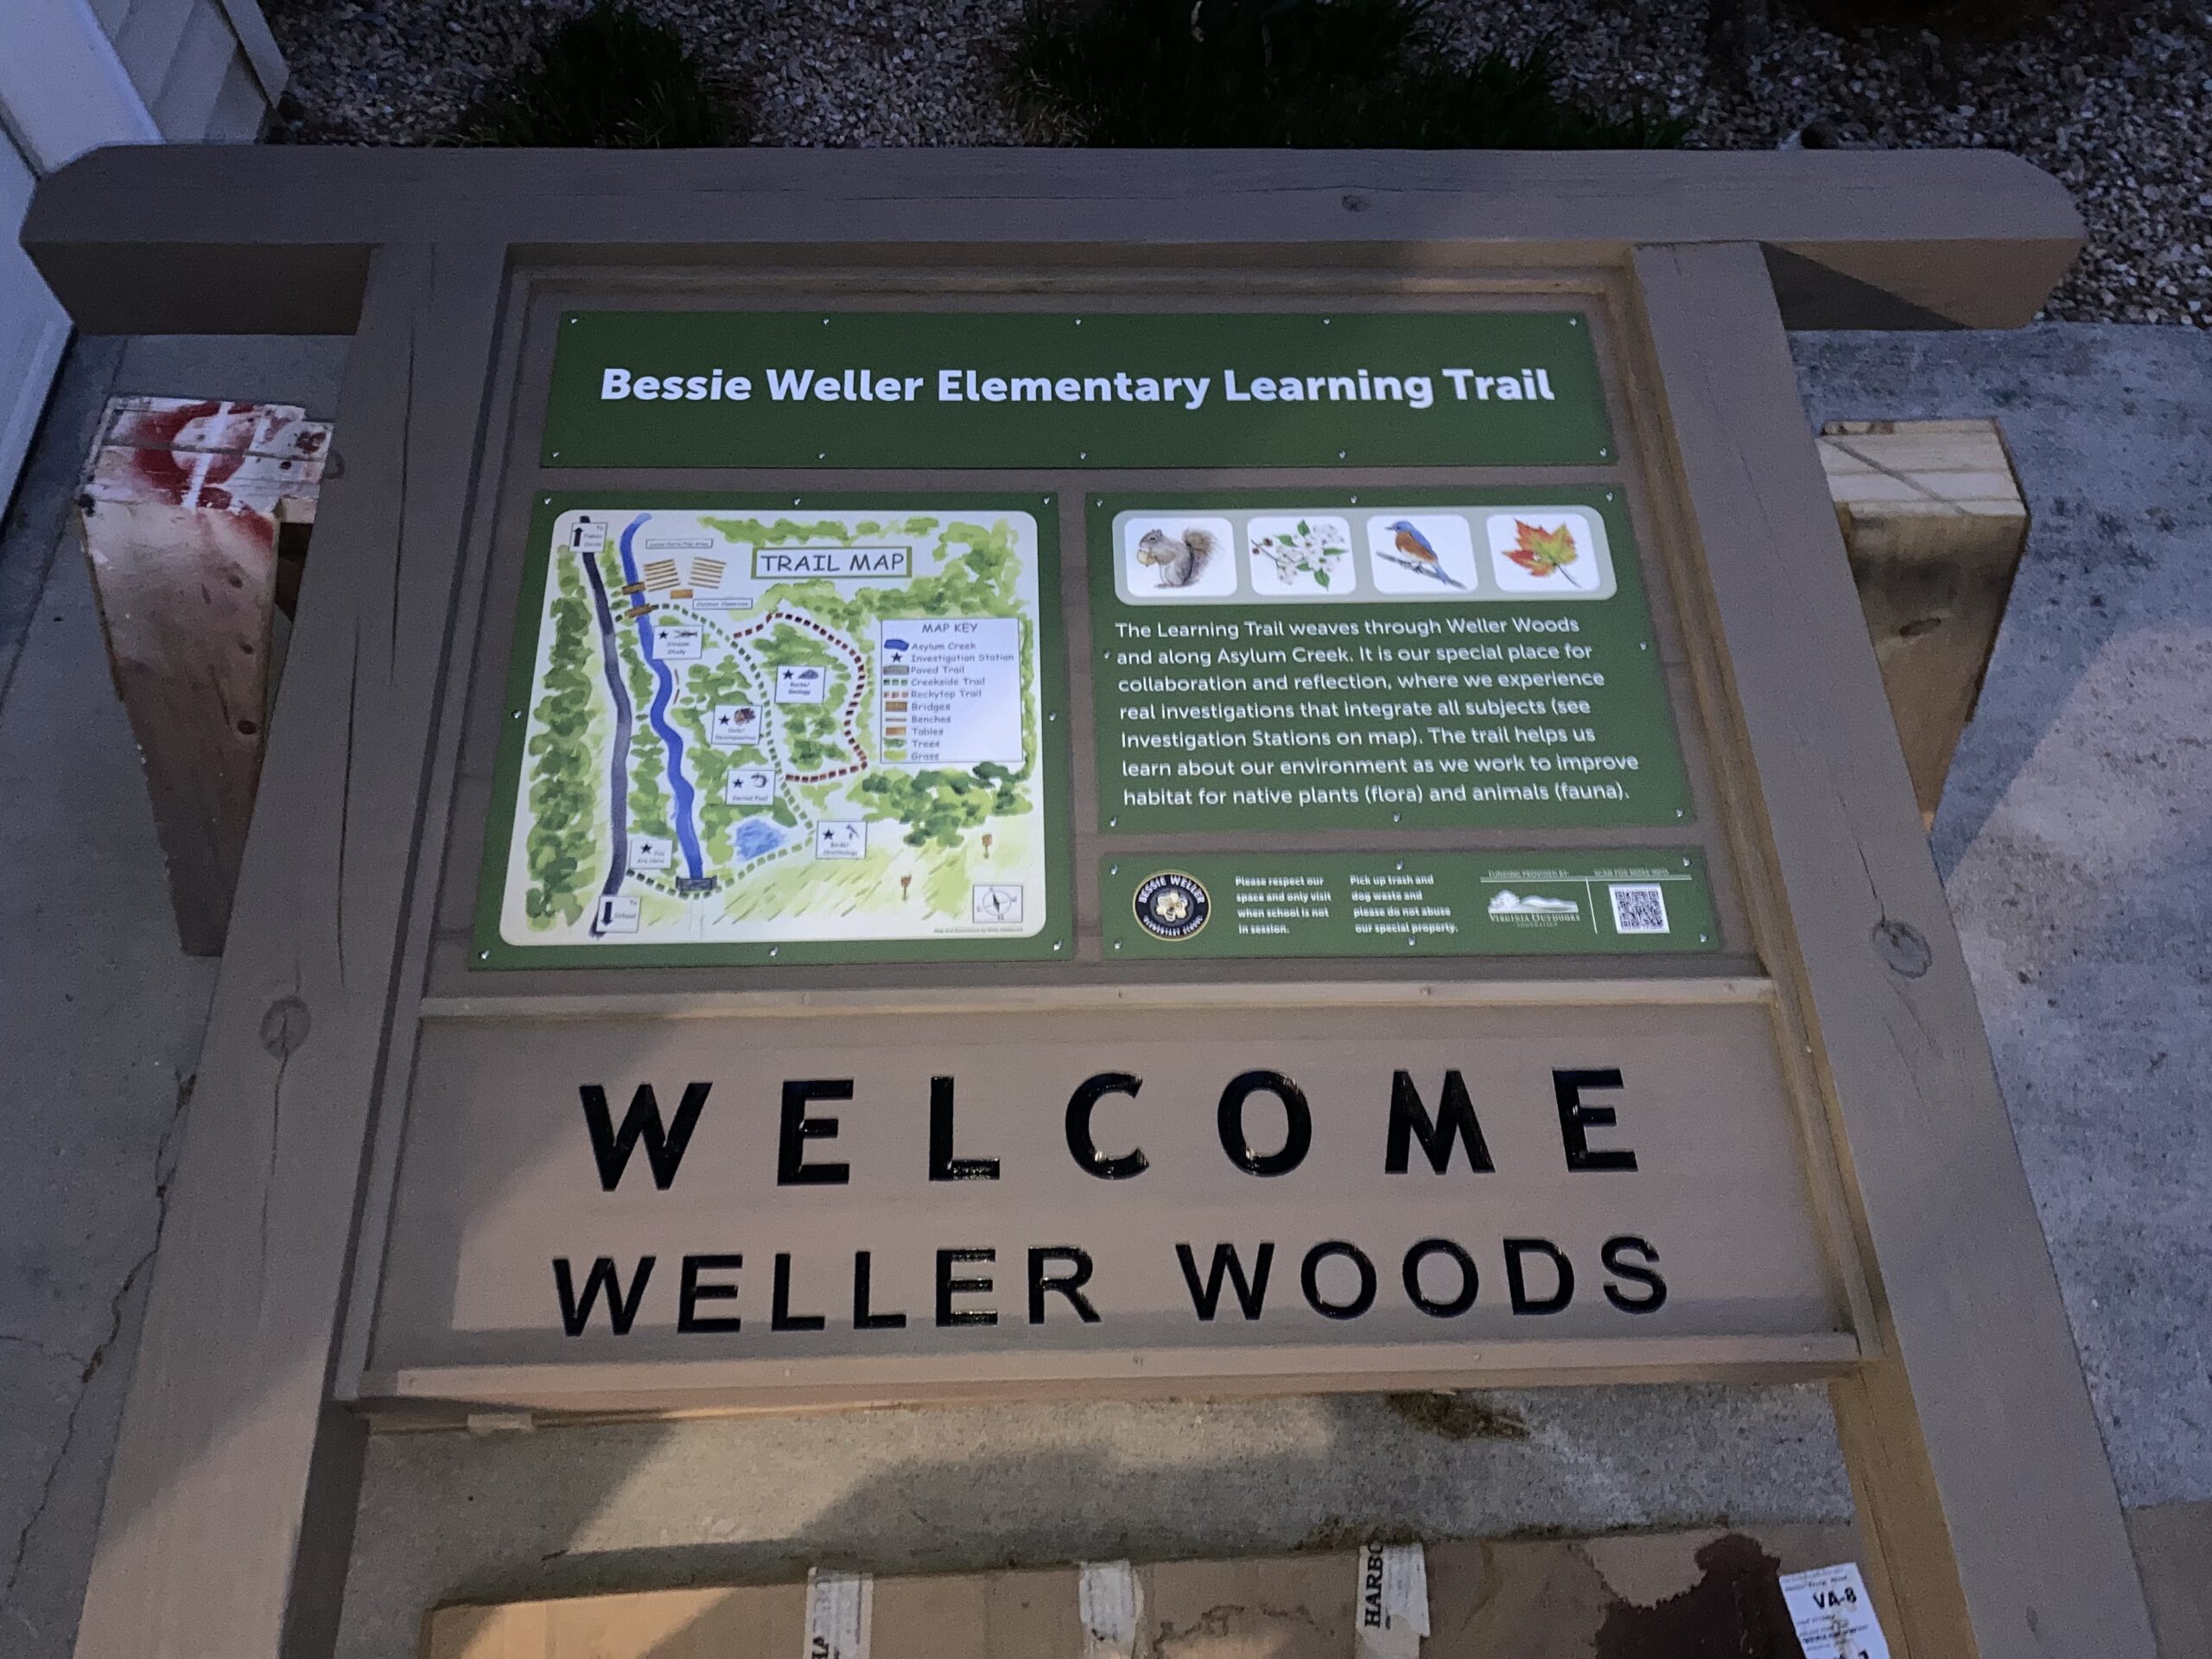
First it was the “Blue Ridge Tunnel” in Afton County with carved cedar and aluminum signage sprawling across two Virginia counties, Nelson County and Augusta County. Next came a PVC Sign System for “Meadow Walk” in the City of Waynesboro that utilized low-maintenance PVC plastic posts with ACM graphics panels versus higher-maintenance painted/stained wood products. Then came the trail signage for “Weaver Loop” in Harrisonburg, whose design we replicated most recently at the “Weller Woods” nature trail for Bessie Weller Elementary School in Staunton. Since I have now completed trail signs in Nelson County, Augusta County, the City of Waynesboro, the City of Harrisonburg, and the City of Staunton, I believe I could be considered a local trail sign expert!
TRAIL MIX
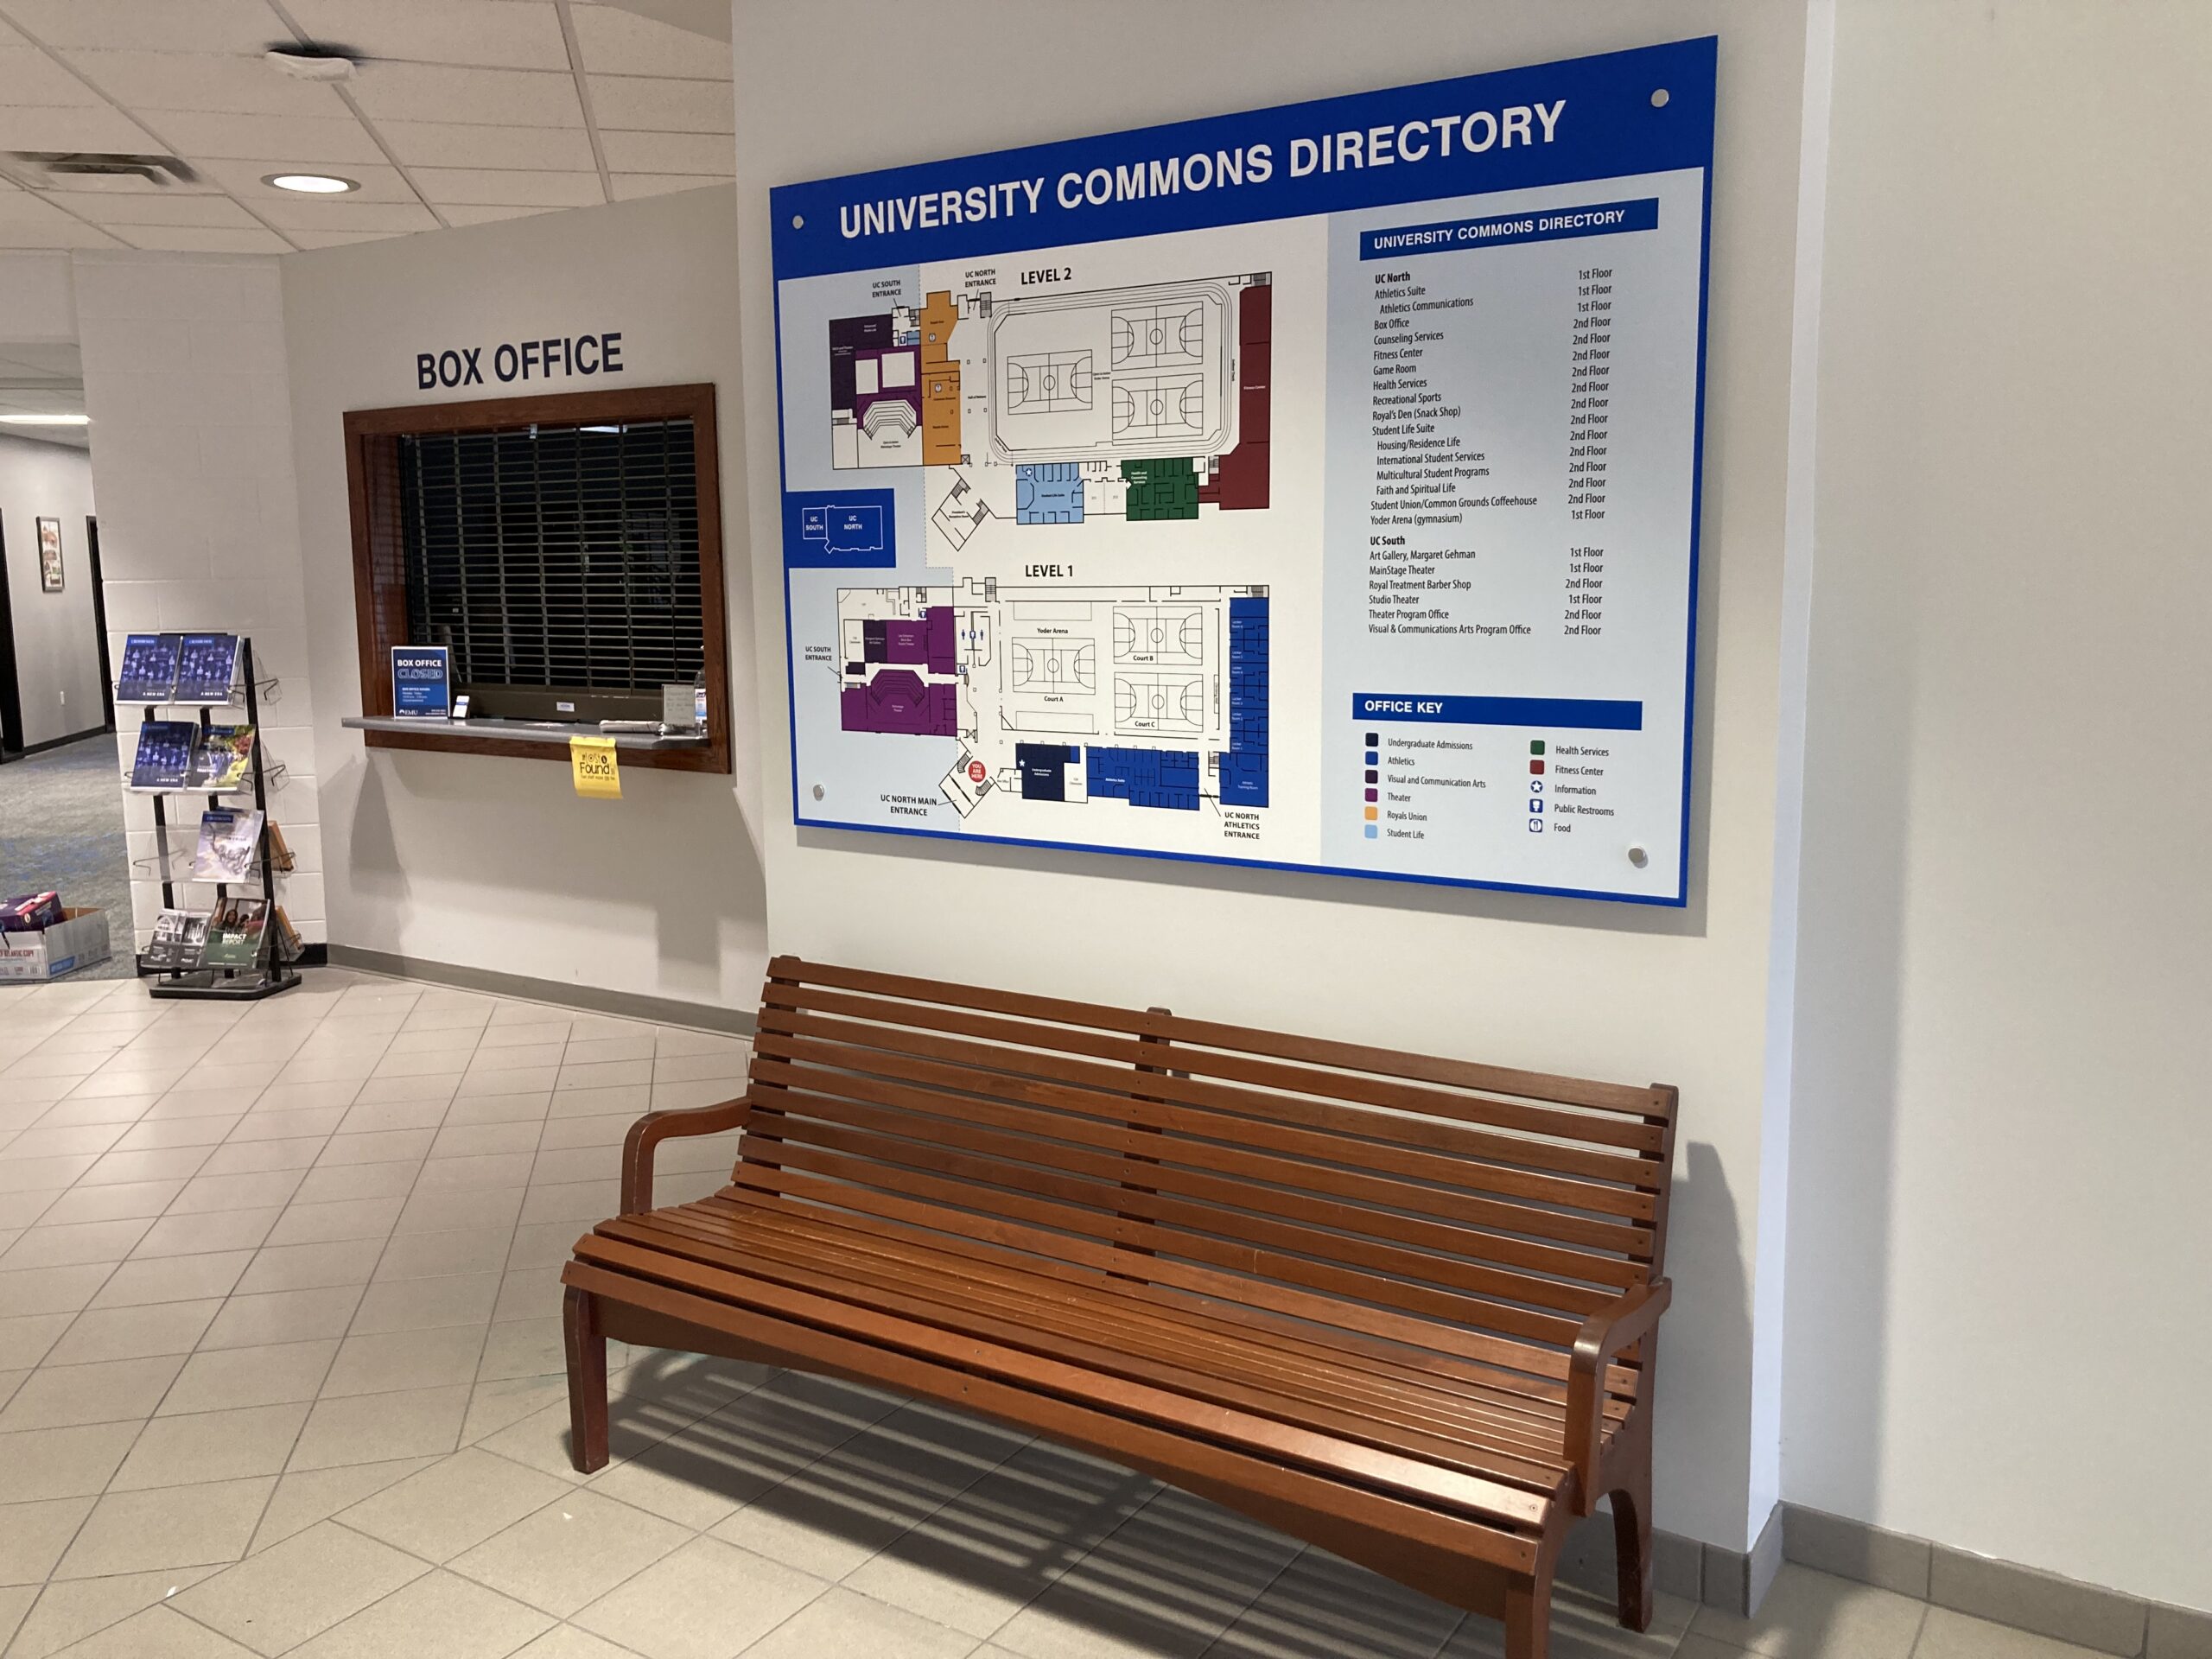
There are so many applications for quality trail signs. Golf courses, cemeteries, parks and recreation departments, the National Park Service, retirement centers, colleges and universities, botanical gardens, public and private schools, museums, hospitals, and many other oranizations can use trail signs. I am hoping to design and build at least one or two trail sign systems a year going forward, because I thoroughly enjoy working with customers, graphic designers, and installation subcontractors to make a dream come true out there in the great outdoors.
PINNING THE TRAIL ON THE DESIGNER
For the tunnel trail project I worked from preliminary design drawings provided by Woolpert, Inc. This particular project featured two large entrance signs, two large trailhead signs, five or six interpretive signs and miscellaneous traffic and directional signs at the parking lots and park perimeter fencing. For the “Meadow Walk” system at Waynesboro Seventh-day Adventist Church, I worked with the church board to come up with the trail signage design which included a main trail identification sign with map, and about a dozen interpretive signs and as many bluebird house posts looping all around the trail. The general design for the “Weaver Loop” signage was provided by At Ease Design and Consulting. Most recently, the graphic design work for the “Weller Woods” project was provided by Chad Pelton Design, with interesting watercolor illustrations by Betty Gatewood.

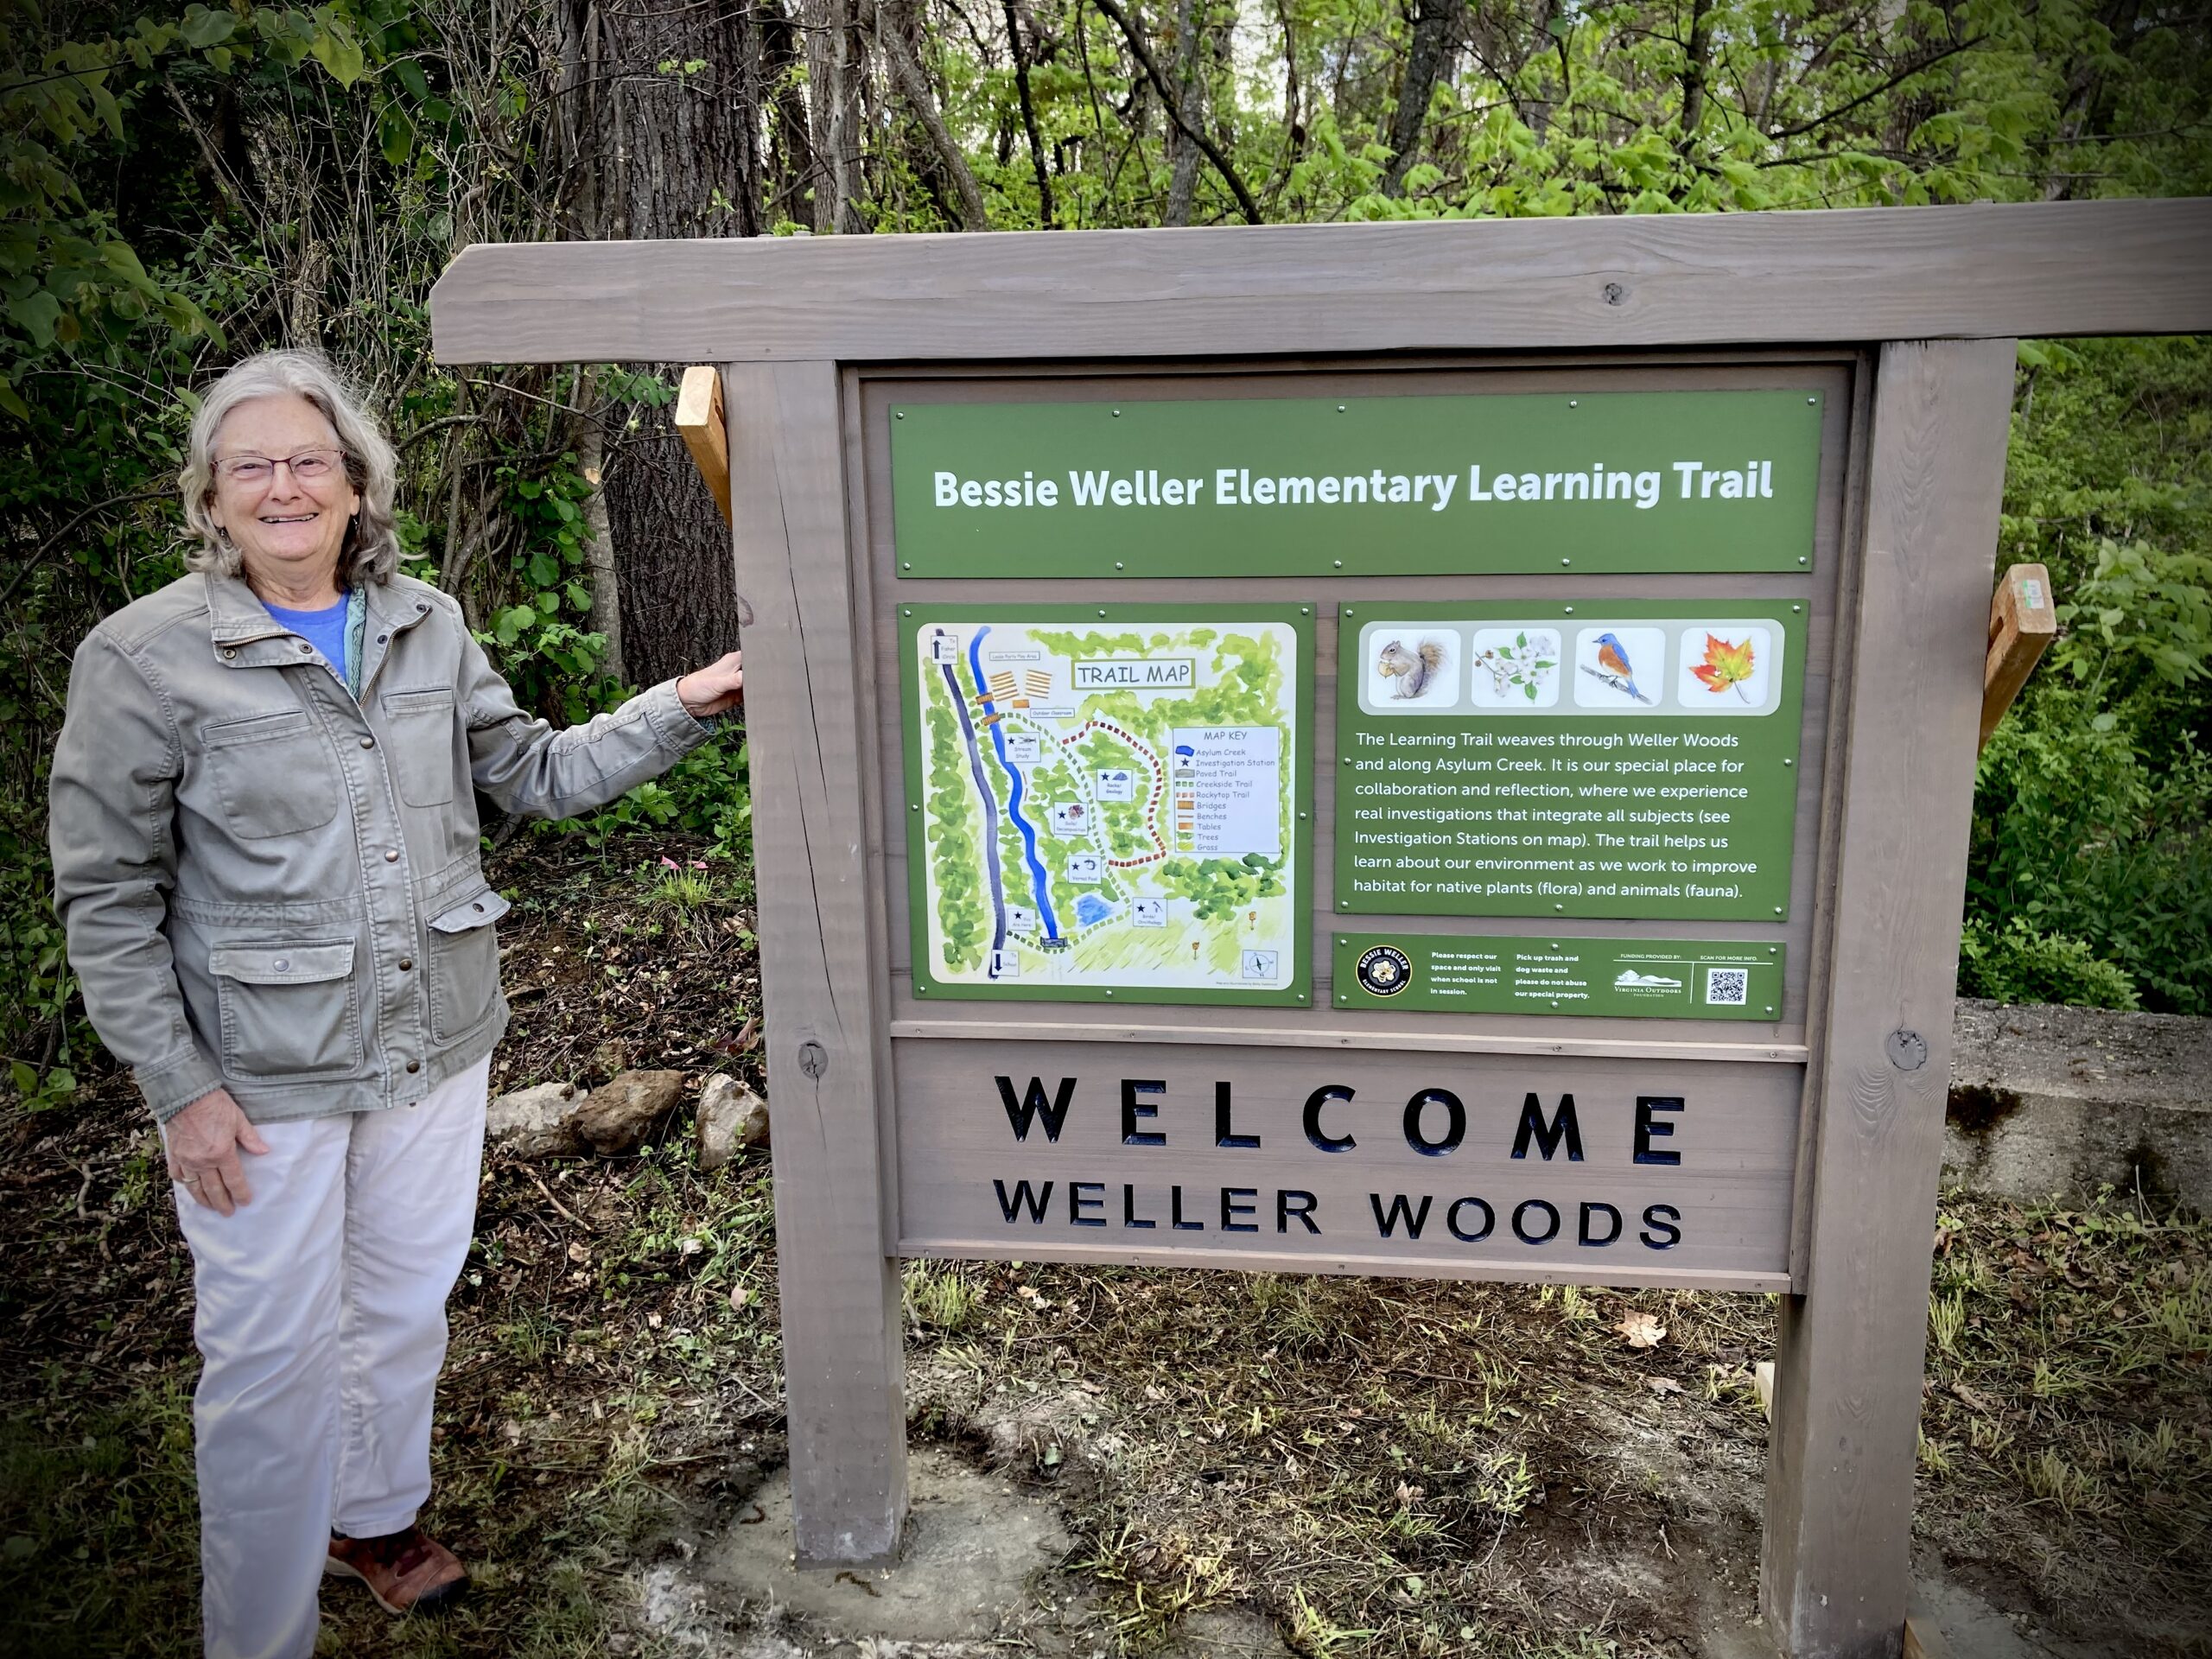
Above is a photo of artist, Betty Gatewood, and Briana Hersch, Outdoor Learning Instructor, Staunton Public Schools, with Mark Hackley, President of Augusta Sign Company on installation day!
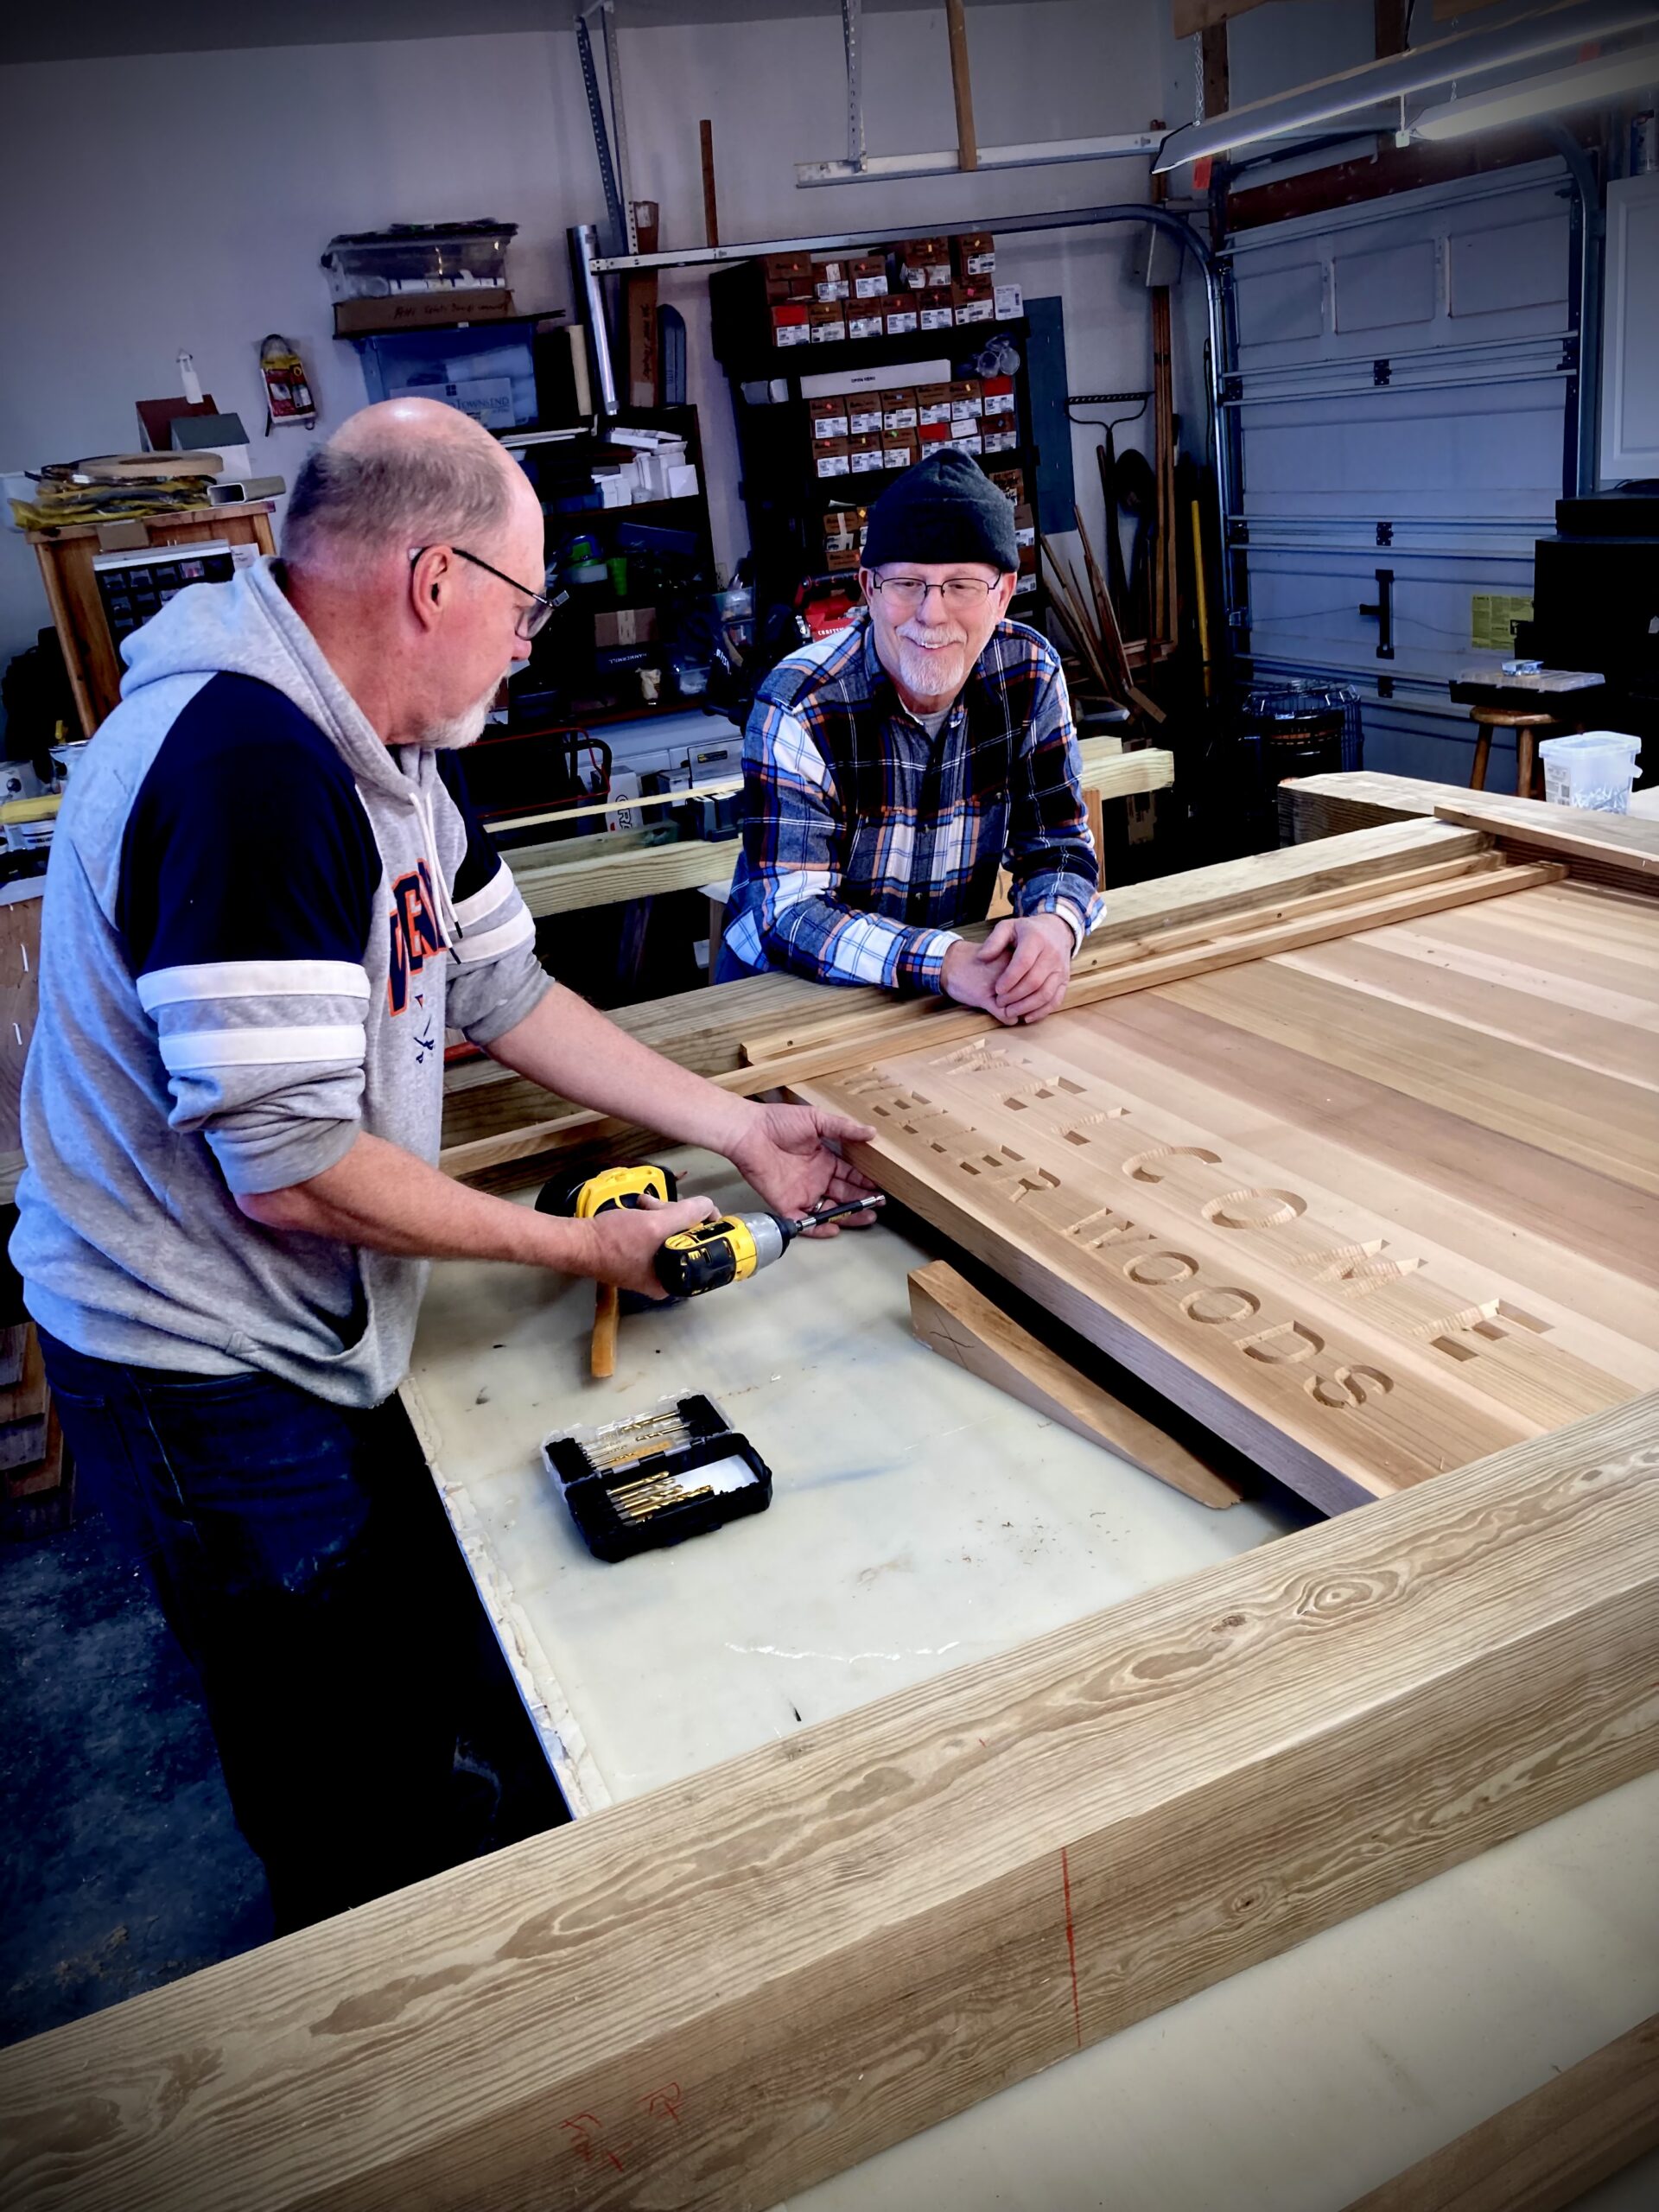
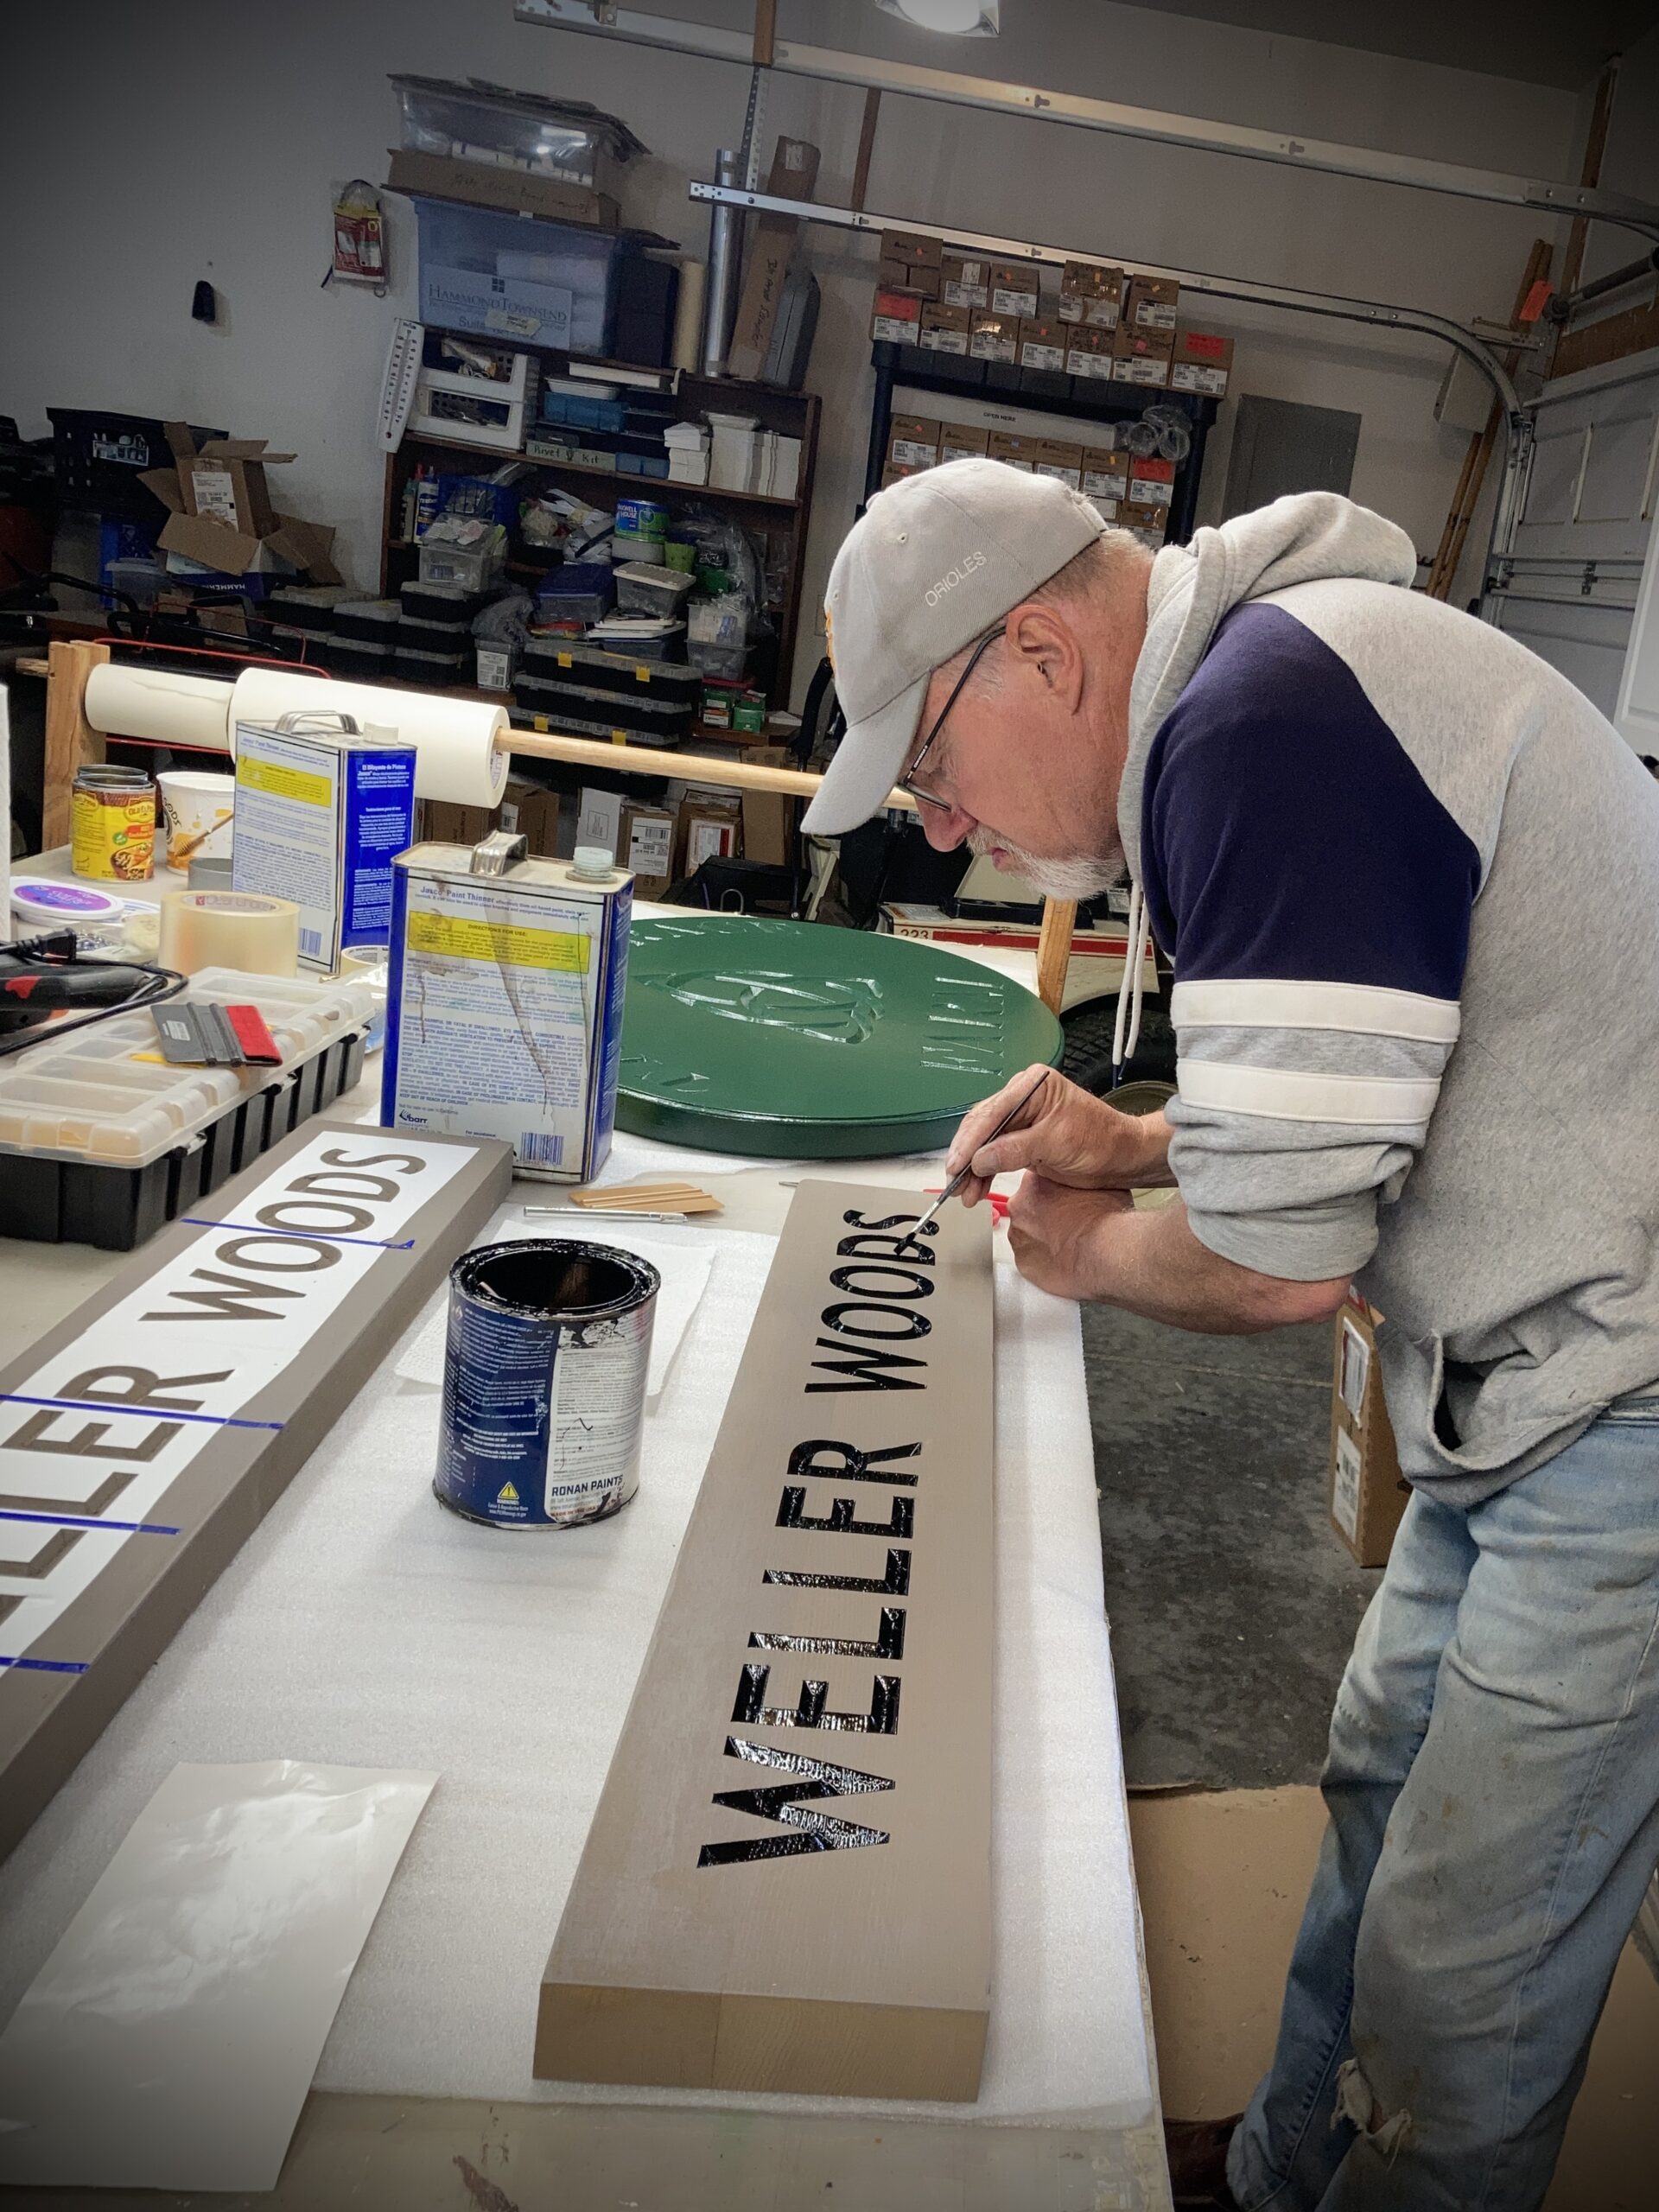
TRAIL SIGNAGE BECOMING ROUTINE
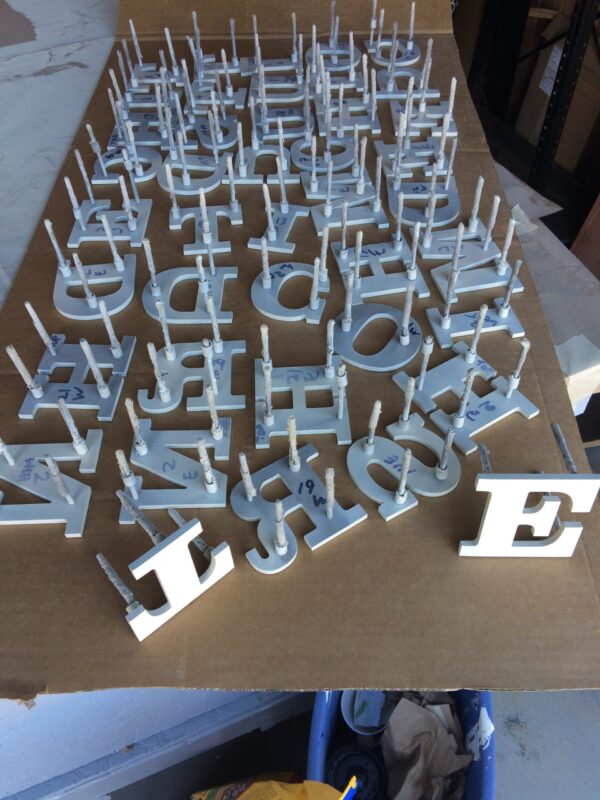
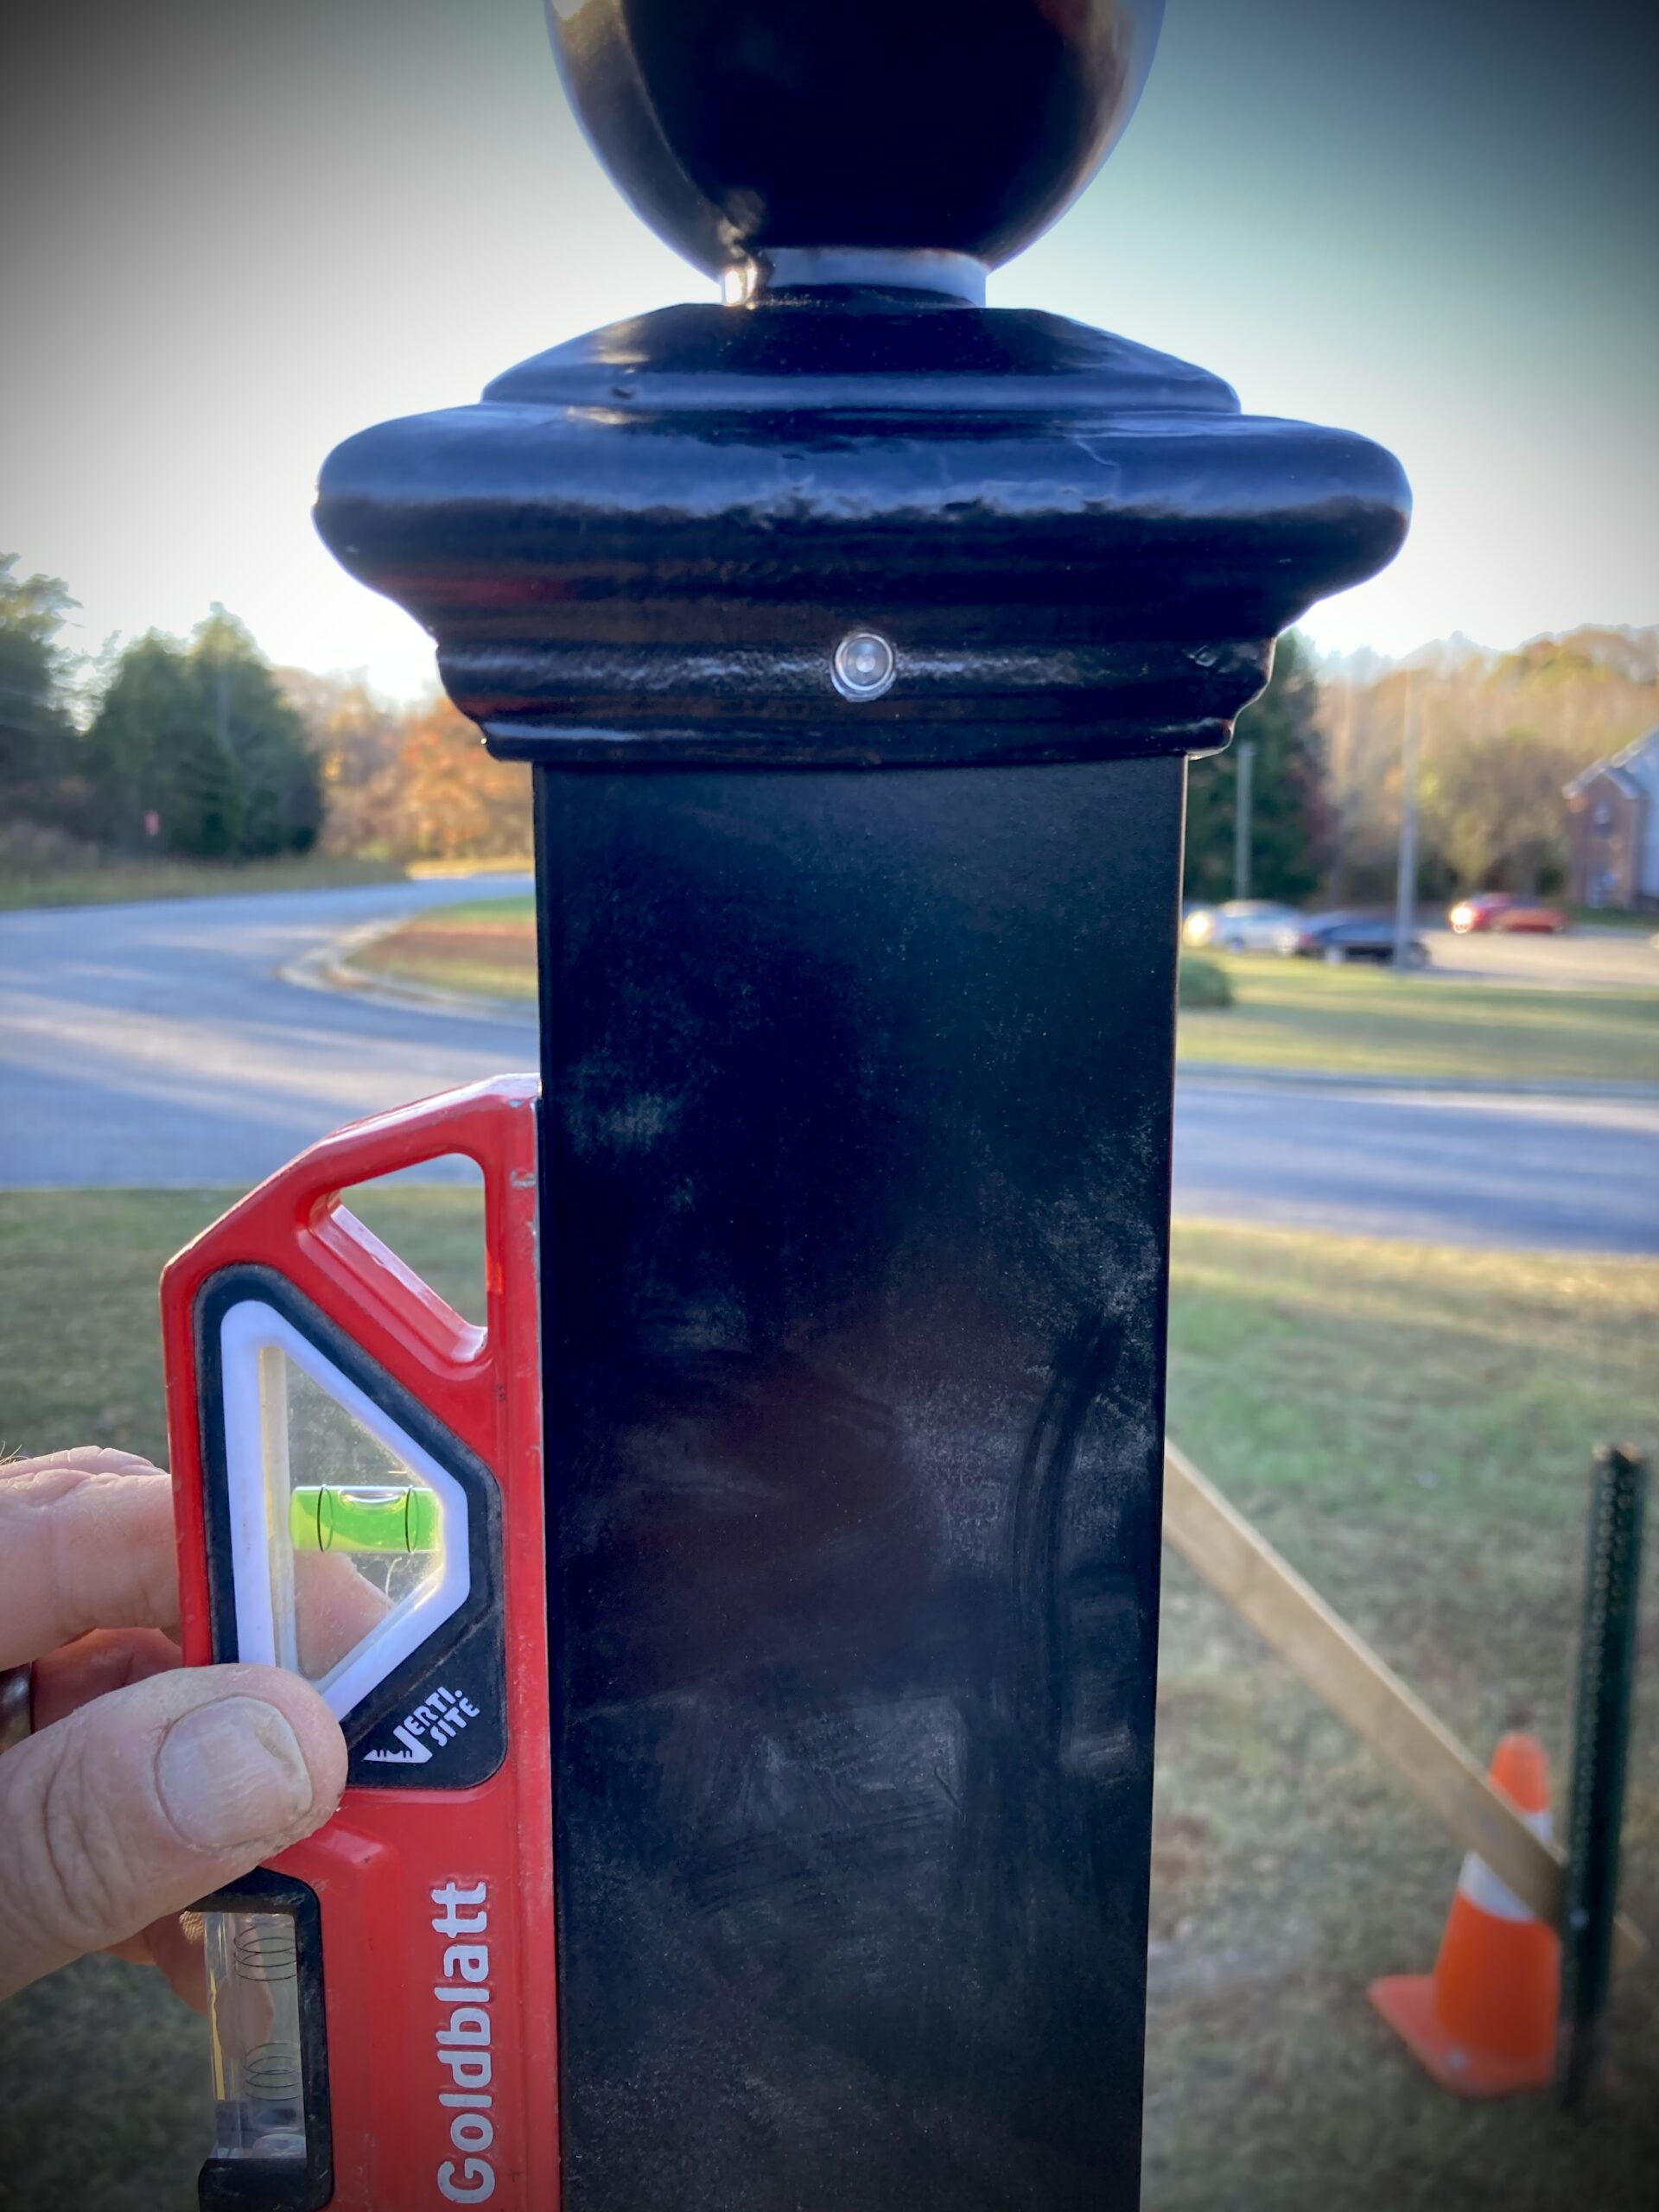
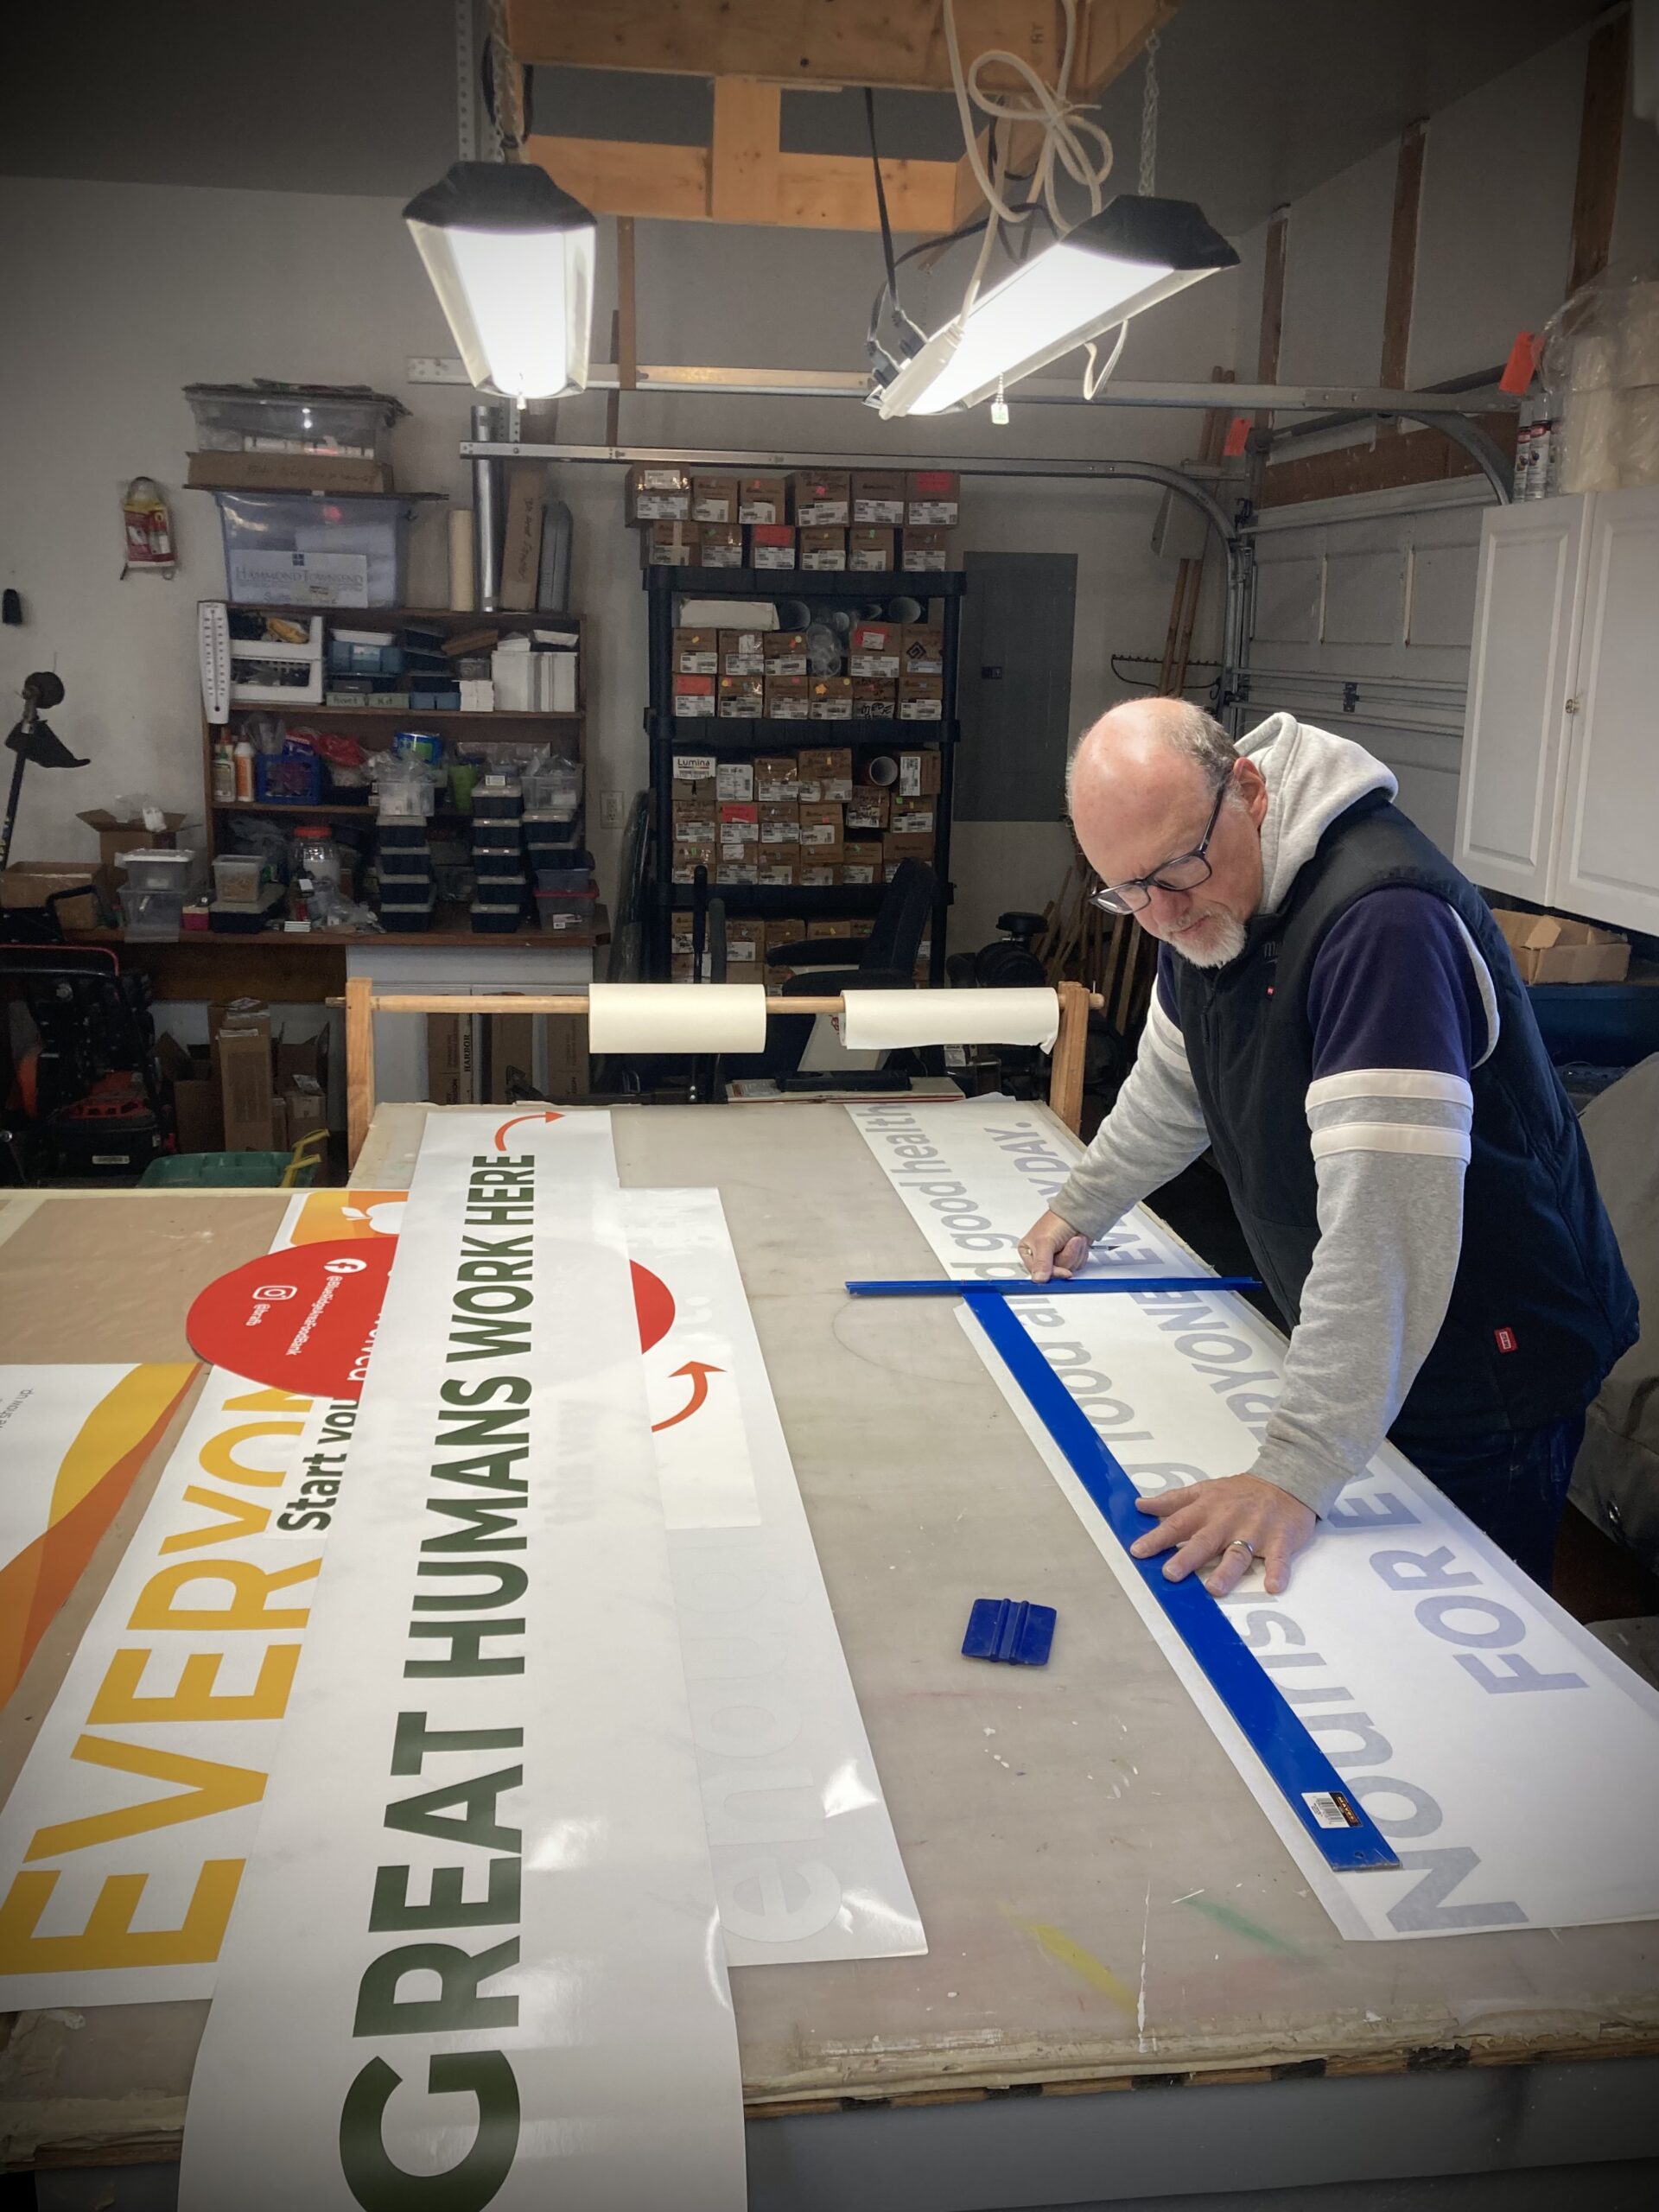
Making trail signs in the shop has become a routine task. It is usually quite easy to fit a batch of signs in the large workshop space. The construction is usually conducted both inside and outside the shop, depending on the weather and other projects in queue. Timbers from Virginia Frame Builders and Supply in Fishersville have proven to be a trustworthy source as tested over time. Paints and stains from Clover Paint in Waynesboro are the top choice for long-lasting finishes and the owner at Clover saves each mix by project name for easy touch up and mainteneance in years to come.
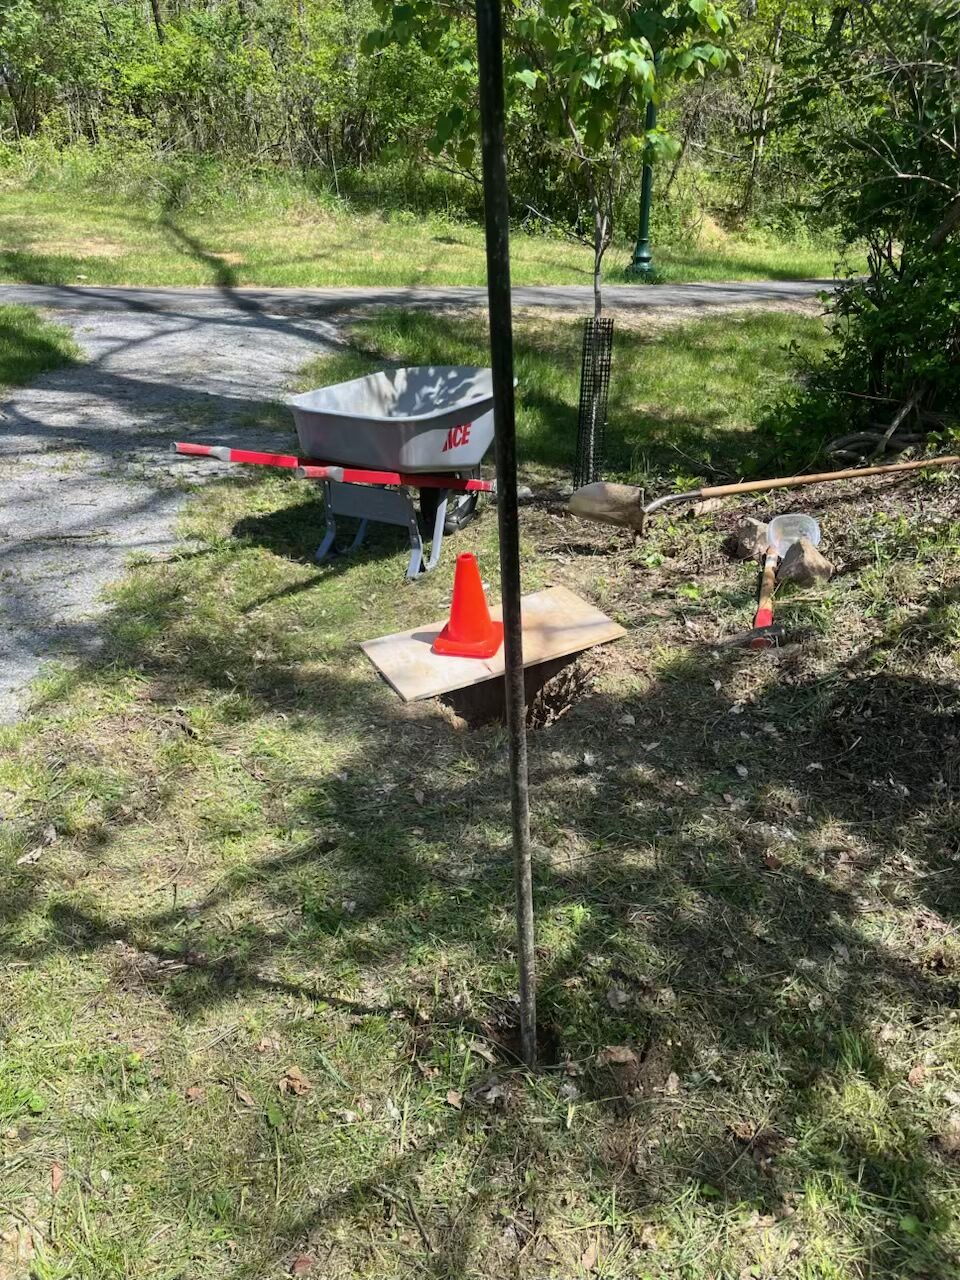
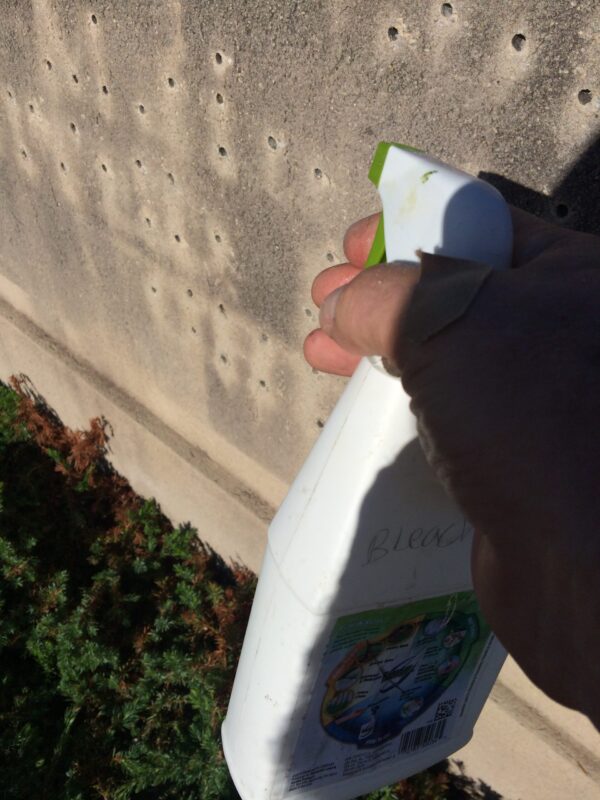
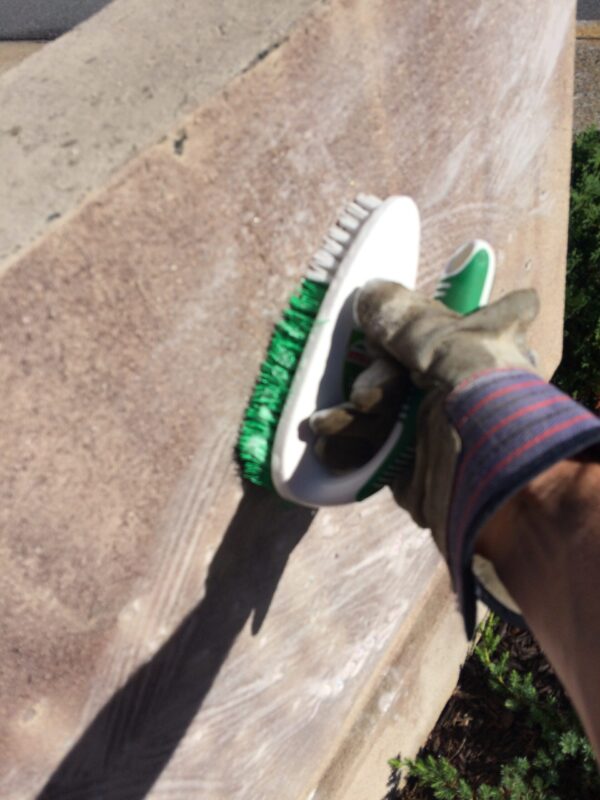
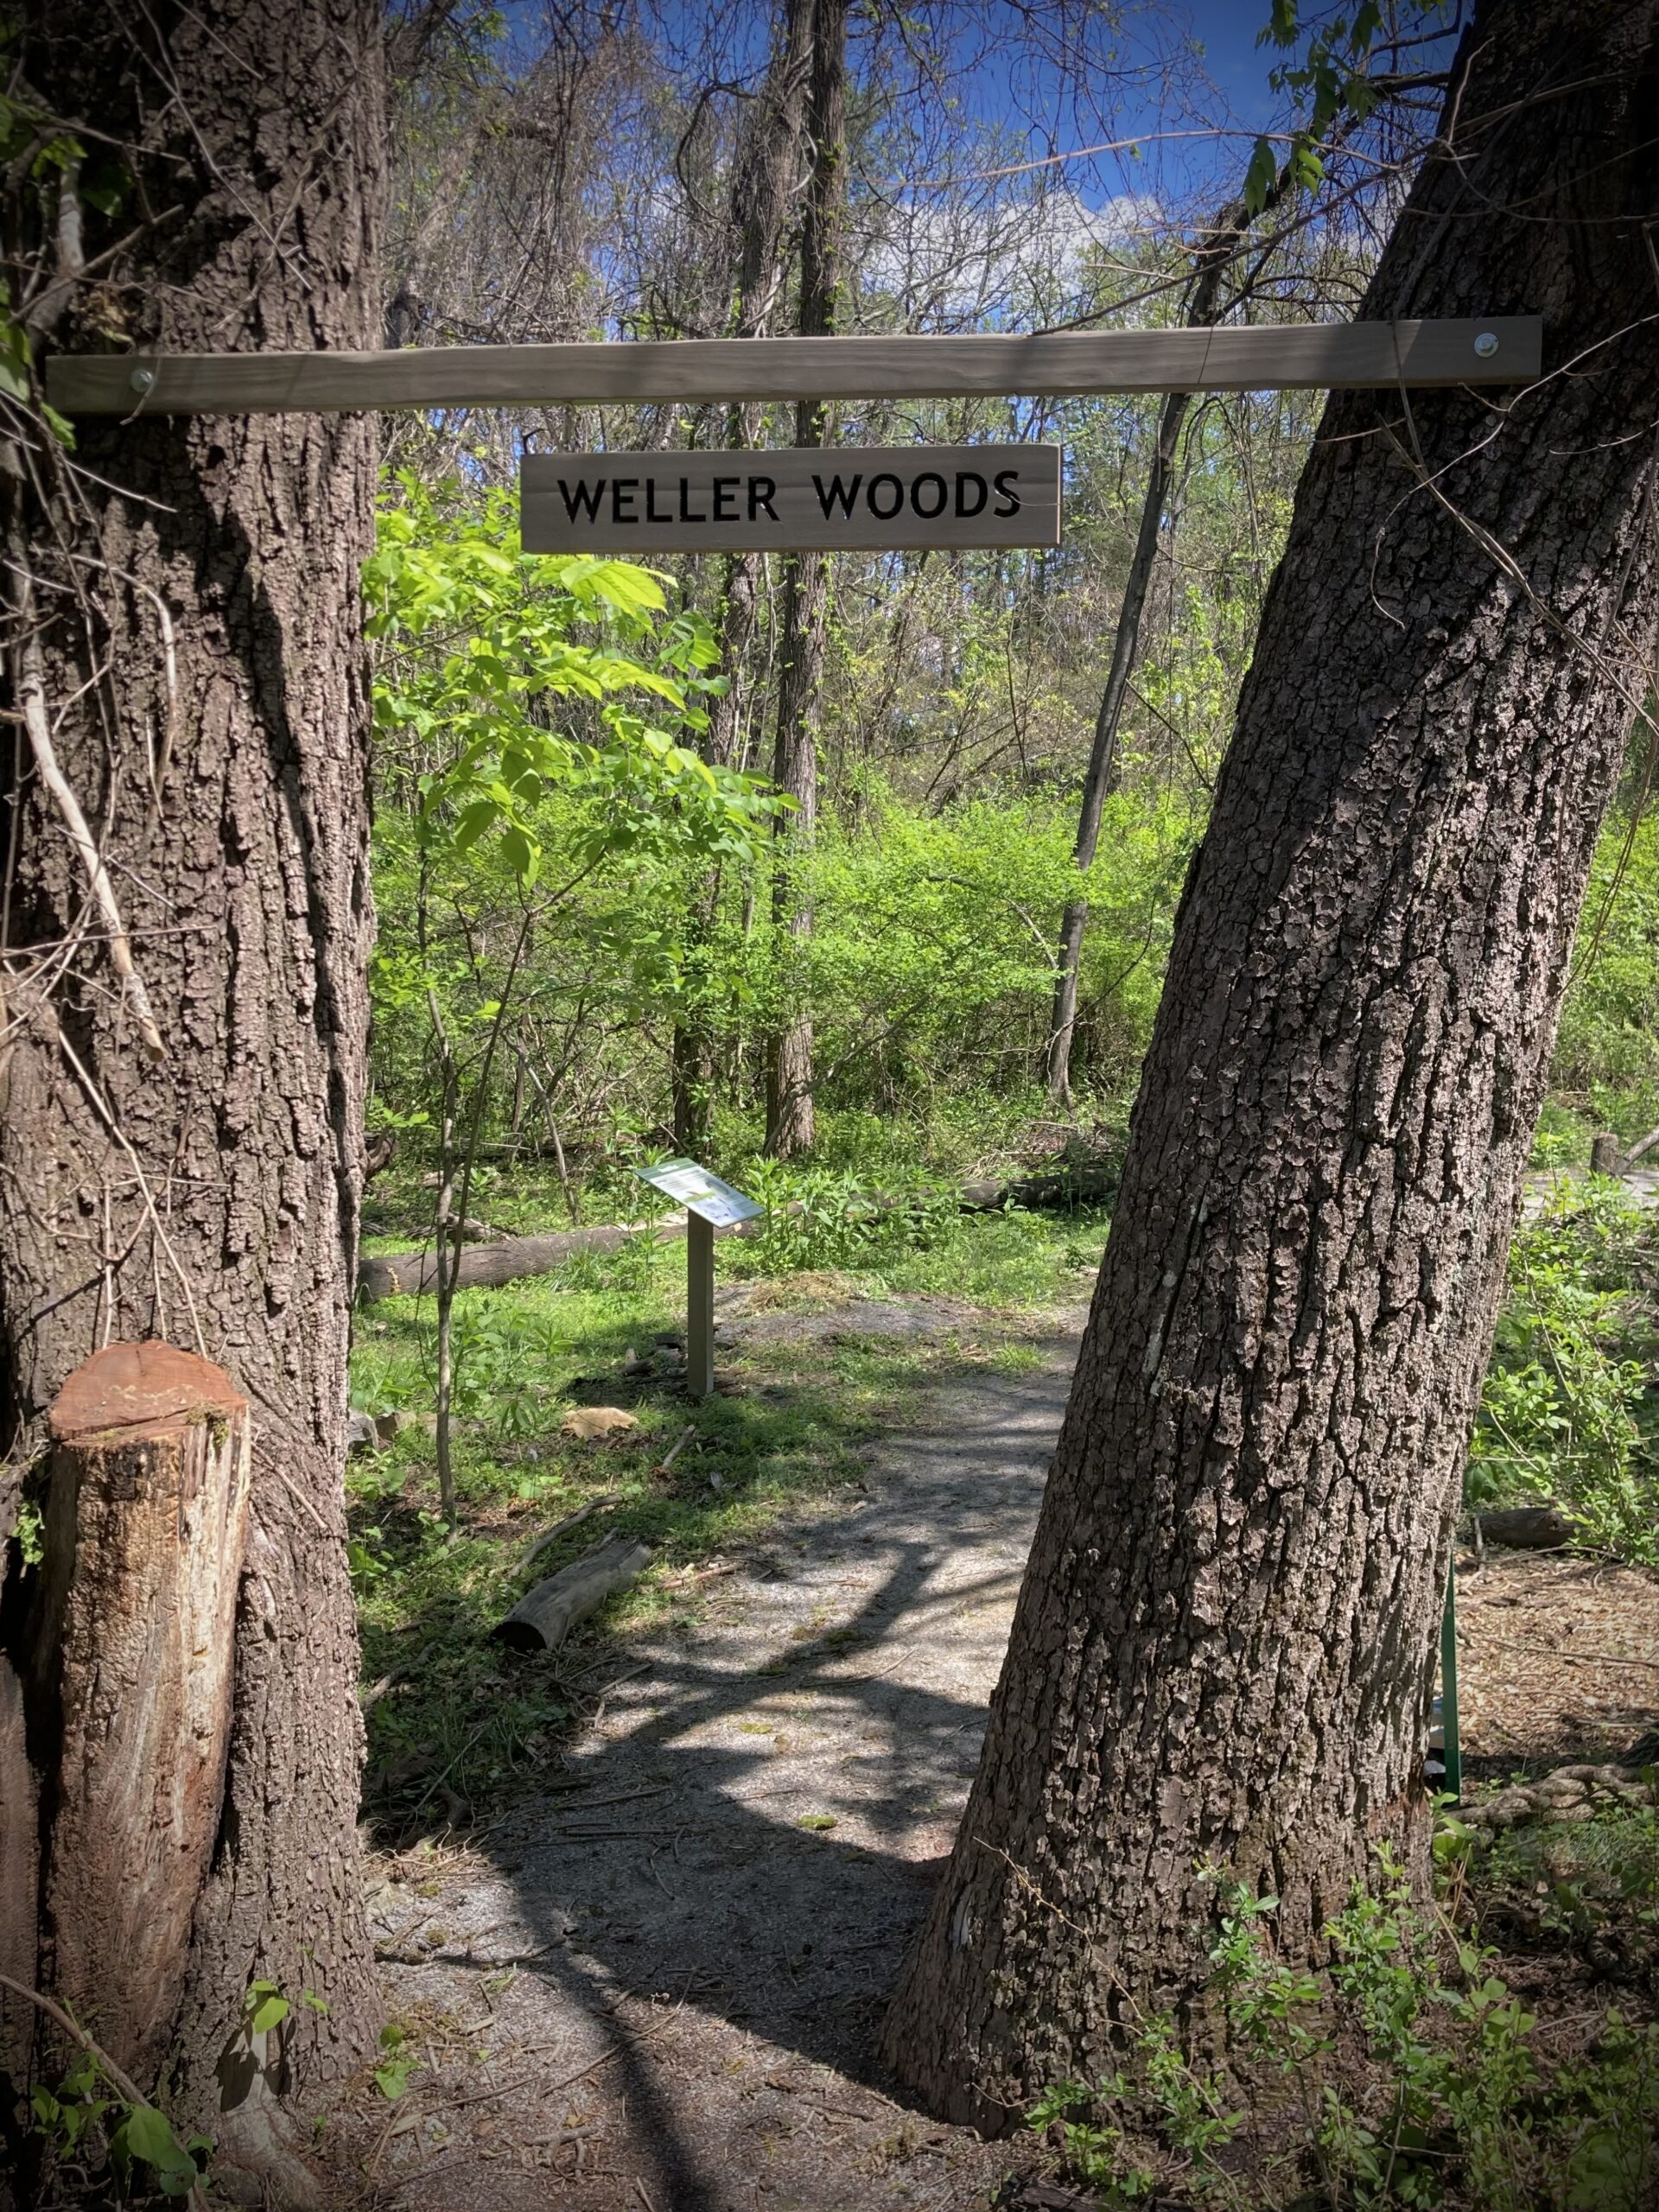
A photo of the holes along the trail waiting to accept the new signage.
RIDING OFF INTO THE SUNSET SMILING
The best part about all my many custom sign projects is all the happy endings. Seeing all the families using my signs as online backdrops for selfies and family snapshots up at the Blue Ridge Tunnel trail has really put a warm smile on my face years after the signs were planted in their concrete footers. The happy looks on people’s faces as they pass the new trail signs for the first time makes it all worth the effort! But when nature artist Betty Gatewood began to cry tears of joy when first seeing her work along the Weller Woods trail this spring, well, that was the icing on the cake for me! I think I’ll have my hand in trail signs for a good long while. It is a very rewarding thing to be a part of.
Mark Hackley owns and operates Augusta Sign Company, serving Staunton, Waynesboro, Harrisonburg, and other places nearby. He can be reached at 540-943-9818.