How To Finish a Sandblasted Sign
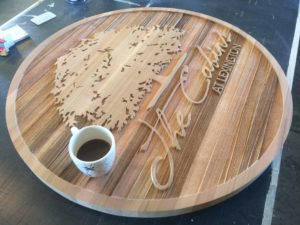 “How to finish a sandblasted sign?” is a question people may ask after seeing a sign of this type at a local business. In the early 1990’s I attended a hand-carved sign workshop taught by master sign carver, Jay Cooke. Lessons learned from that instructive workshop are still used in my sign-making and sign-finishing practices today.
I am the owner of Augusta Sign Company located near Middlebrook, Virginia. In this blog I will try to explain the steps in finishing a sandblasted cedar sign. These same steps could apply to the finishing of similar products which might include carved wood signs and also routed wood signs, both of which I sell here in Virginia to a variety of 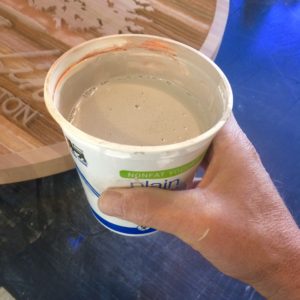 companies, organizations, and individuals. These signs are frequently used as the primary identification signs for medical offices, parks and recreation sites, museums, resorts, theme parks, city entrances, churches, professional offices, bed and breakfasts, retail stores, and subdivision entrances, just to name a few.
Before the finishing process begins, you must start with quality wood. Consider choosing mahogany, redwood or cedar for your sign panel, as all three choices are great for resisting rot and insects. They also hold paints and stains well, and they can all be finished natural and look great over long periods of time with regular maintenance.
Once you have the sign panel glued up and blasted, carved or routed, here’s what you need to do to preserve the wood and make an attractive, 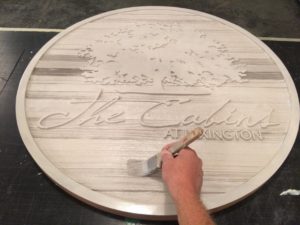 eye-catching sign:
- Mix up your own homemade oil stain by adding 30% of oil-based exterior enamel paint (I use One-Shot or Ronan brands) with Penetrol.
- Apply the homemade Penetrol solid-color oil stain to the raw wood surface. Allow it to soak overnight. Apply a second coat in 24 hours if the first coat is well dry.
- Using 100% enamel, paint the lettering.
- Second coat lettering if necessary’ and allow to dry at least 24 hours.
That’s all there is to it. Of course, you want to use quality brushes that don’t lose their hairs in your paint work! No clear coat finish is required, but you can expect to have to repaint the sign every 5-10 years. With proper maintenance the sign will look 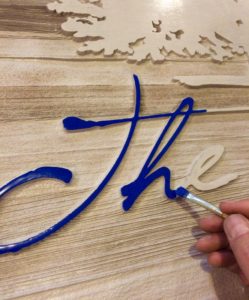 great all the time and last a life time.
COST OF WOOD SIGNS
When you consider the cost of a wood sign remember to calculate the annual cost over a long period. Here’s an example: Say a finished plywood sign costs you $34 a square foot and lasts 5-10 years and then it needs to be replaced. Based on a 20 SF sign, this sign would have an annual cost of $68-$136 a year. Now say a sandblasted cedar sign costs $150 a square foot. A 20 SF cedar sign with a 50 year lifespan would have an annual cost of $110 a year when figuring on the initial cost and $500 every 10 years for repainting. Not only is the pricing in the same ballpark as the plywood sign, but the three dimensional elements achieved by using carved wood far exceeds the value of a plywood sign.
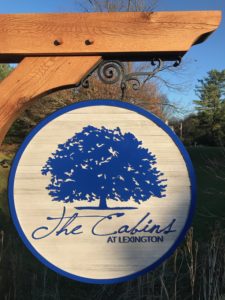 Next time you need a sign, consider a sandblasted wood sign!
Mark Hackley is owner of Augusta Sign Company, the best place for wood signs in the Shenandoah Valley!
If you enjoyed this article, here are a few more that may be of interest: