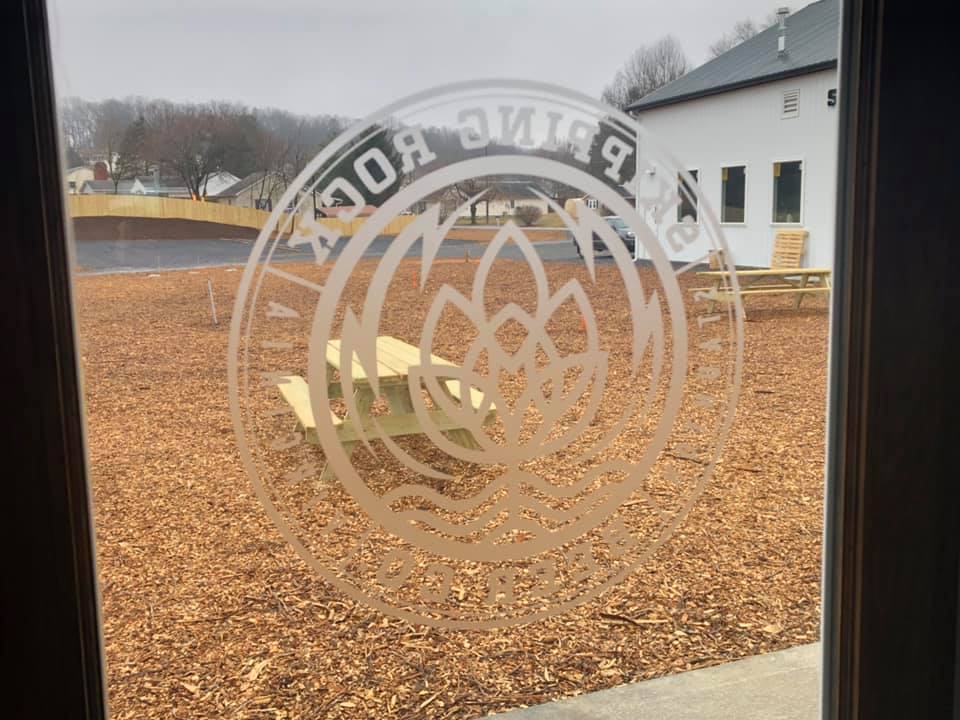
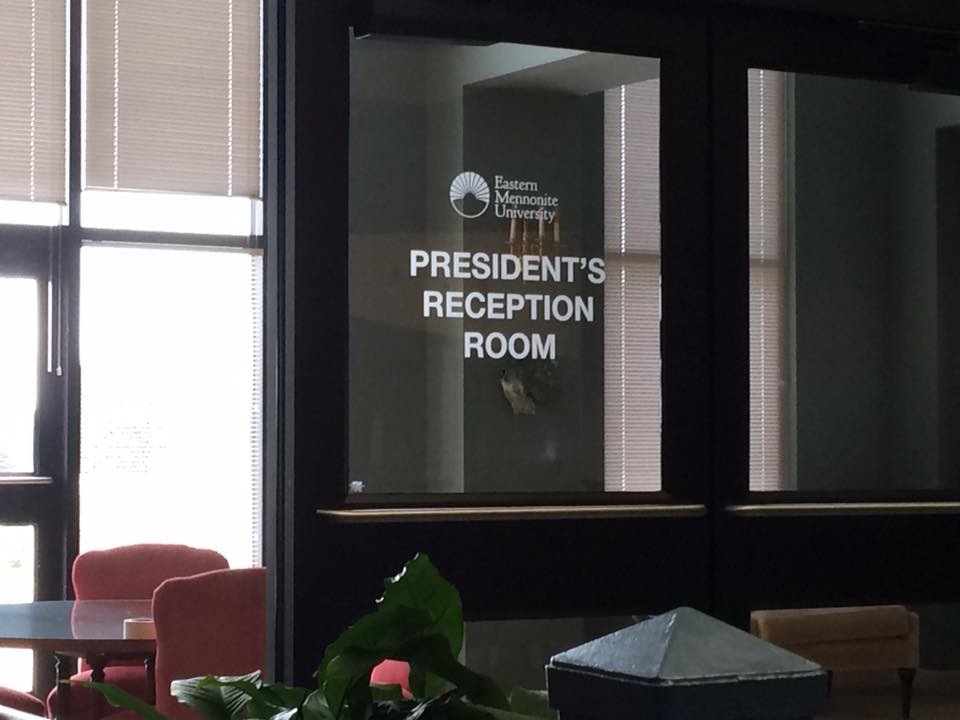
Etched letters can add a touch of class to your entrance. Since the lettering does not stand out as well as regular opaque vinyl or hand-painted graphics, the uses are usally limited to places that want a subdued, yet classy look. That’s why I’ve used the etched vinyl material for the President’s office at a local university; the entrances to a craft brewery with a neat logo; the entance to the law office of a regional law firm.

There are a number of different types of etched vinyl, and of course my customers could opt for the real deal, actual etching into glass. I have priced genuine etched glass in the past, but have never sold anything, probably because it’s extremely costly.
Two types of etched glass films I use are readily available from my suppliers: Avery brand “Etchmark” and “Frosted Sparkle”. Etchmark is your basic etched look. The other has much more pizazz and intermittent sparkles throughout. I’ve also tried several Arlon films. One of those types was almost too clear and hard to see, especially when appled to the back side of the glass pane. Whether the vinyl is installed to the outside of the glass (first surface) or the backside (second surface) is the decision of the customer. To make a second-surface decal, I can tell my software to cut a mirror-image of the artwork, so then the adhesive will be on the graphics facing the glass when cut backwards.
If you have an occasion to use etched vinyl for your store windows and doors, let me know!
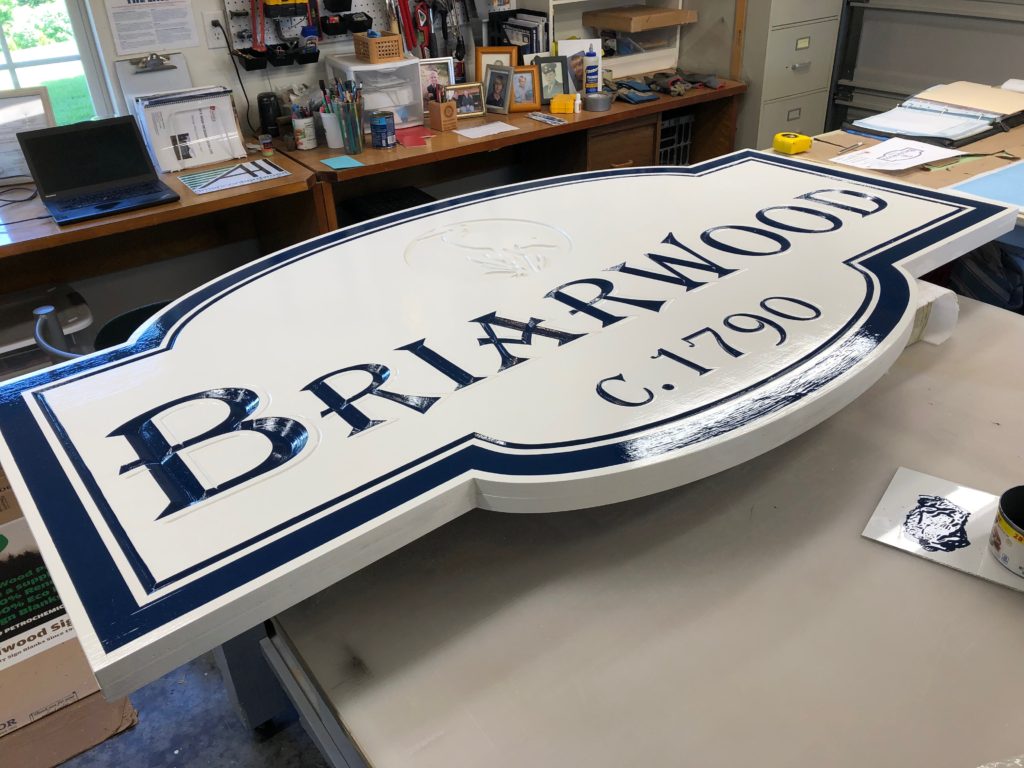
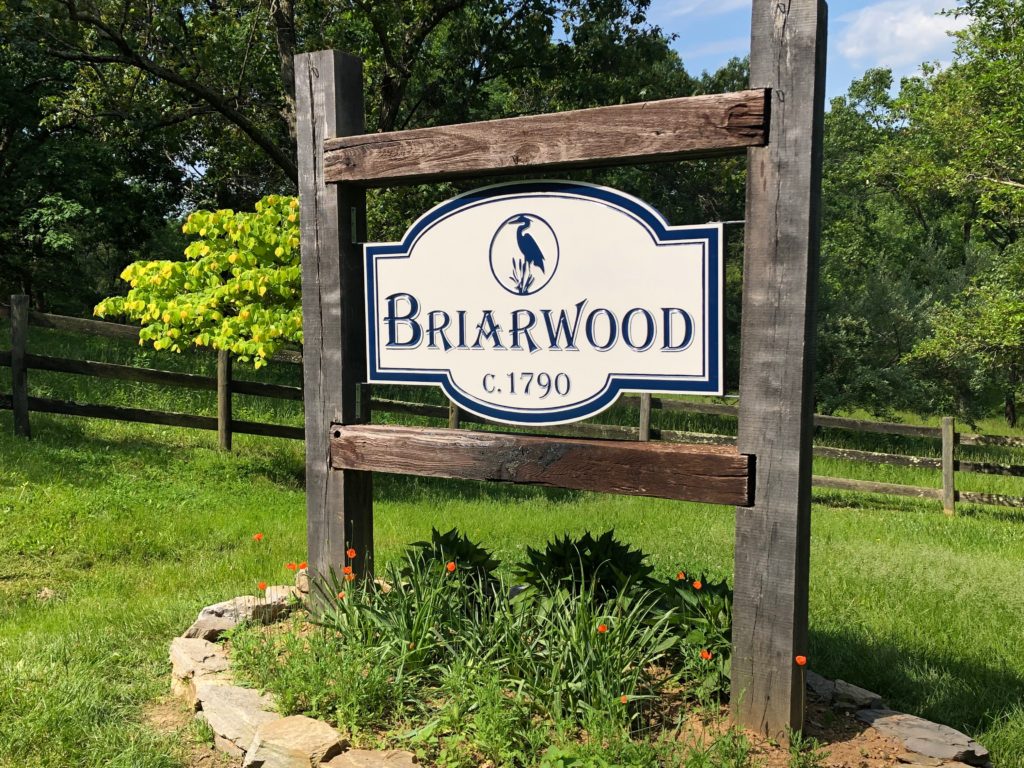


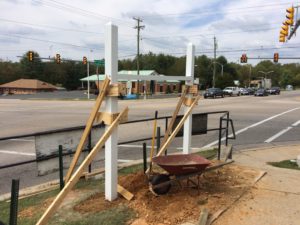 It takes some planning to make and install a large free-standing sign in the ground and install it where everything is relatively level and plumb.
 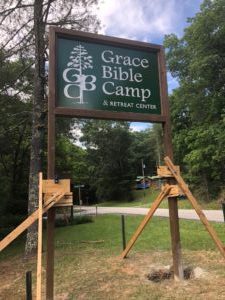 tables, disassemble them, then assemble them again in the field when I know that everything will fit together nice and square. Most of the time the land in which the sign will be erected is not flat, so I have to take into consideration that either one hole will be deeper or one post will be longer to compensate for the difference. Once the holes are dug and the poles are hoisted in place, I attach my own clamping system, one of Augusta Sign Company’s ingenious intellectual properties, that keeps signposts plumb in both directions (forward-to-backward; and side-to-side).